Well got the column and the steering wheel installed as well as the parking brake assembly and the locking hood release. Need to fab up a bracket I think to get the hood release mounted solidly.
Next weekend I hope to start hanging the wiring harness in preparation for getting this mutha lit off!
Stay tuned.............
ZEBRA 3 OUT
4/23/17
4/16/17
Details 72....
A short frustrating day Saturday.... determined the assembled length from the old fixed column out of the Torino...
got the steering shaft pulled apart
lubed the anti-rattle clips
and reinserted to the approximate length and the entire column reassembled.
Then started trying to install it solo... man what a PITA!!! Index marked the steering box spline and the rag joint coupler...
so next weekend I can get them reassembled. I'll break down the rag joint back to it's individual parts and get the steering box coupler fully pressed onto the splined steering box shaft, the reassemble the rag joint and deadman bracket to the coupler and then reattach the extension shaft to the end of the column, tighten the pinch bolt and then bolt down the column to the interior firewall brackets. Then I'll then install the steering wheel and run the steering assembly thru it's travel to check operation as well as any unwanted points of contact.
Don't touch that dial...........
ZEBRA 3 OUT
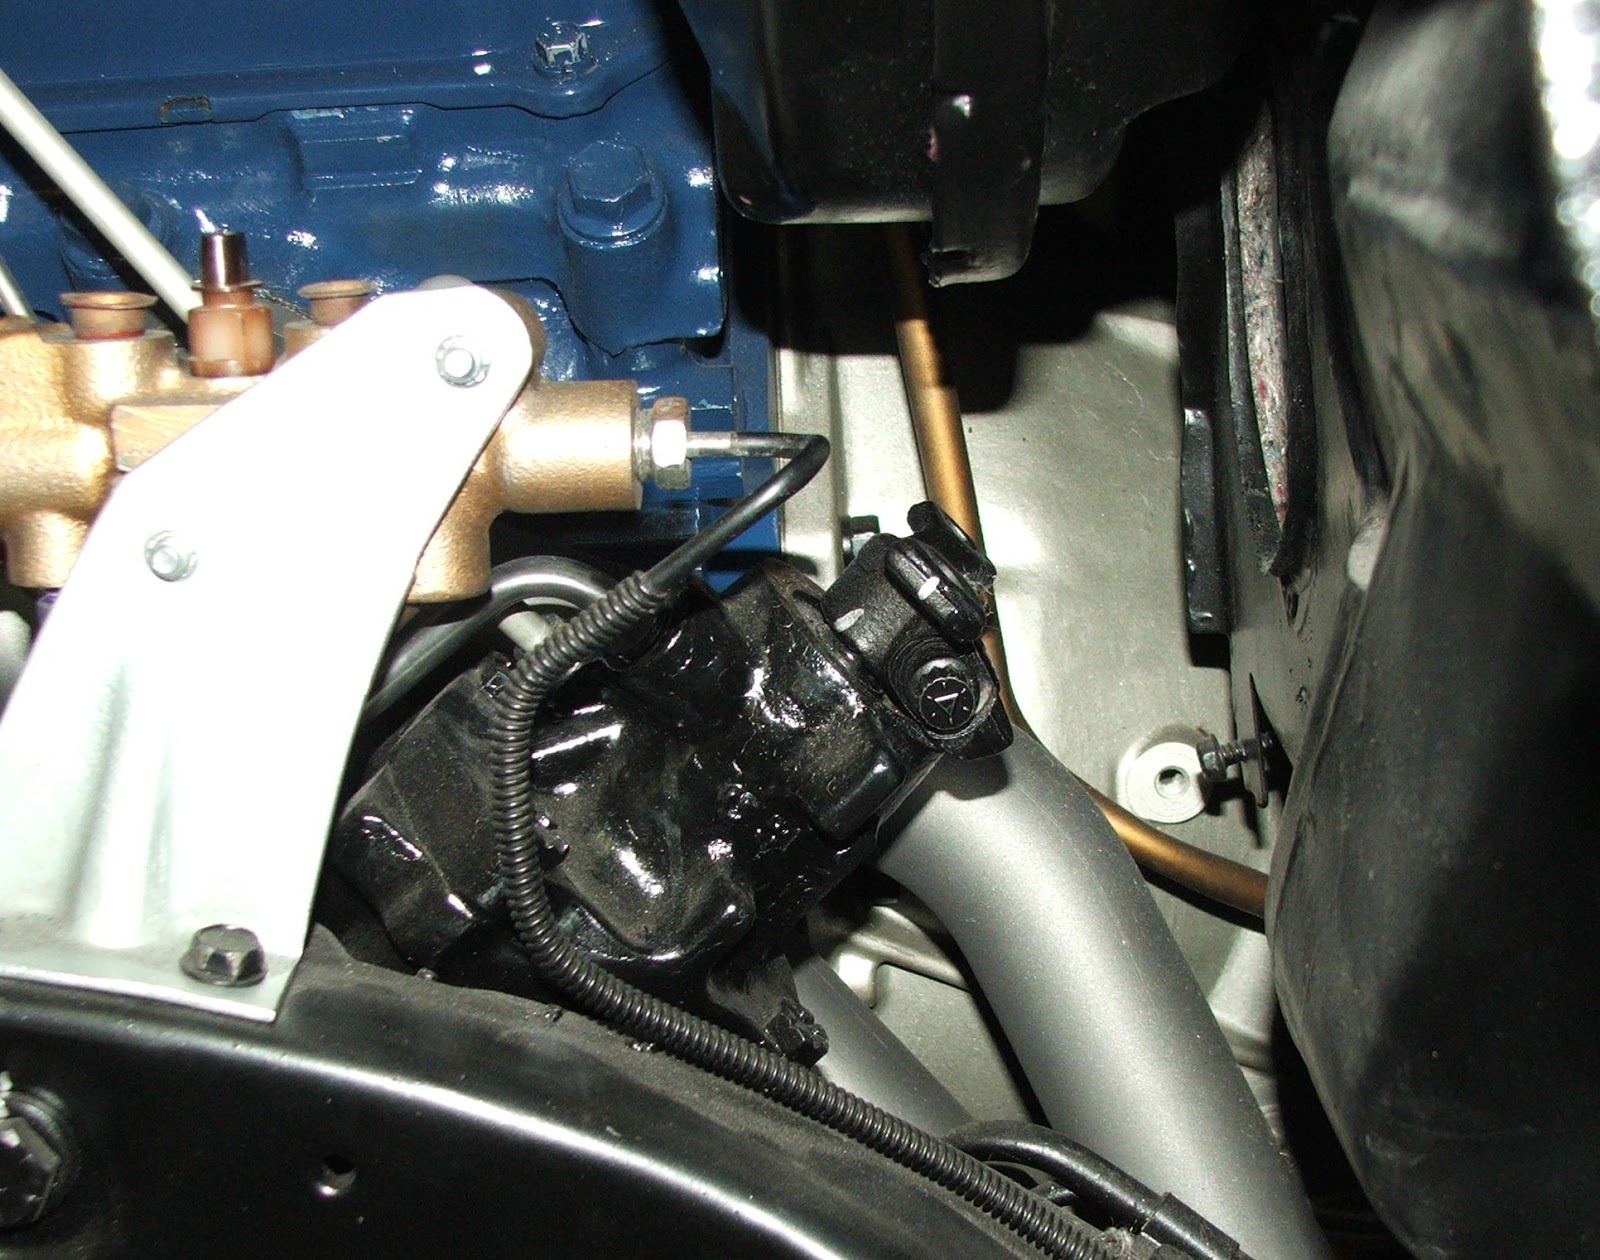
got the steering shaft pulled apart
lubed the anti-rattle clips
and reinserted to the approximate length and the entire column reassembled.
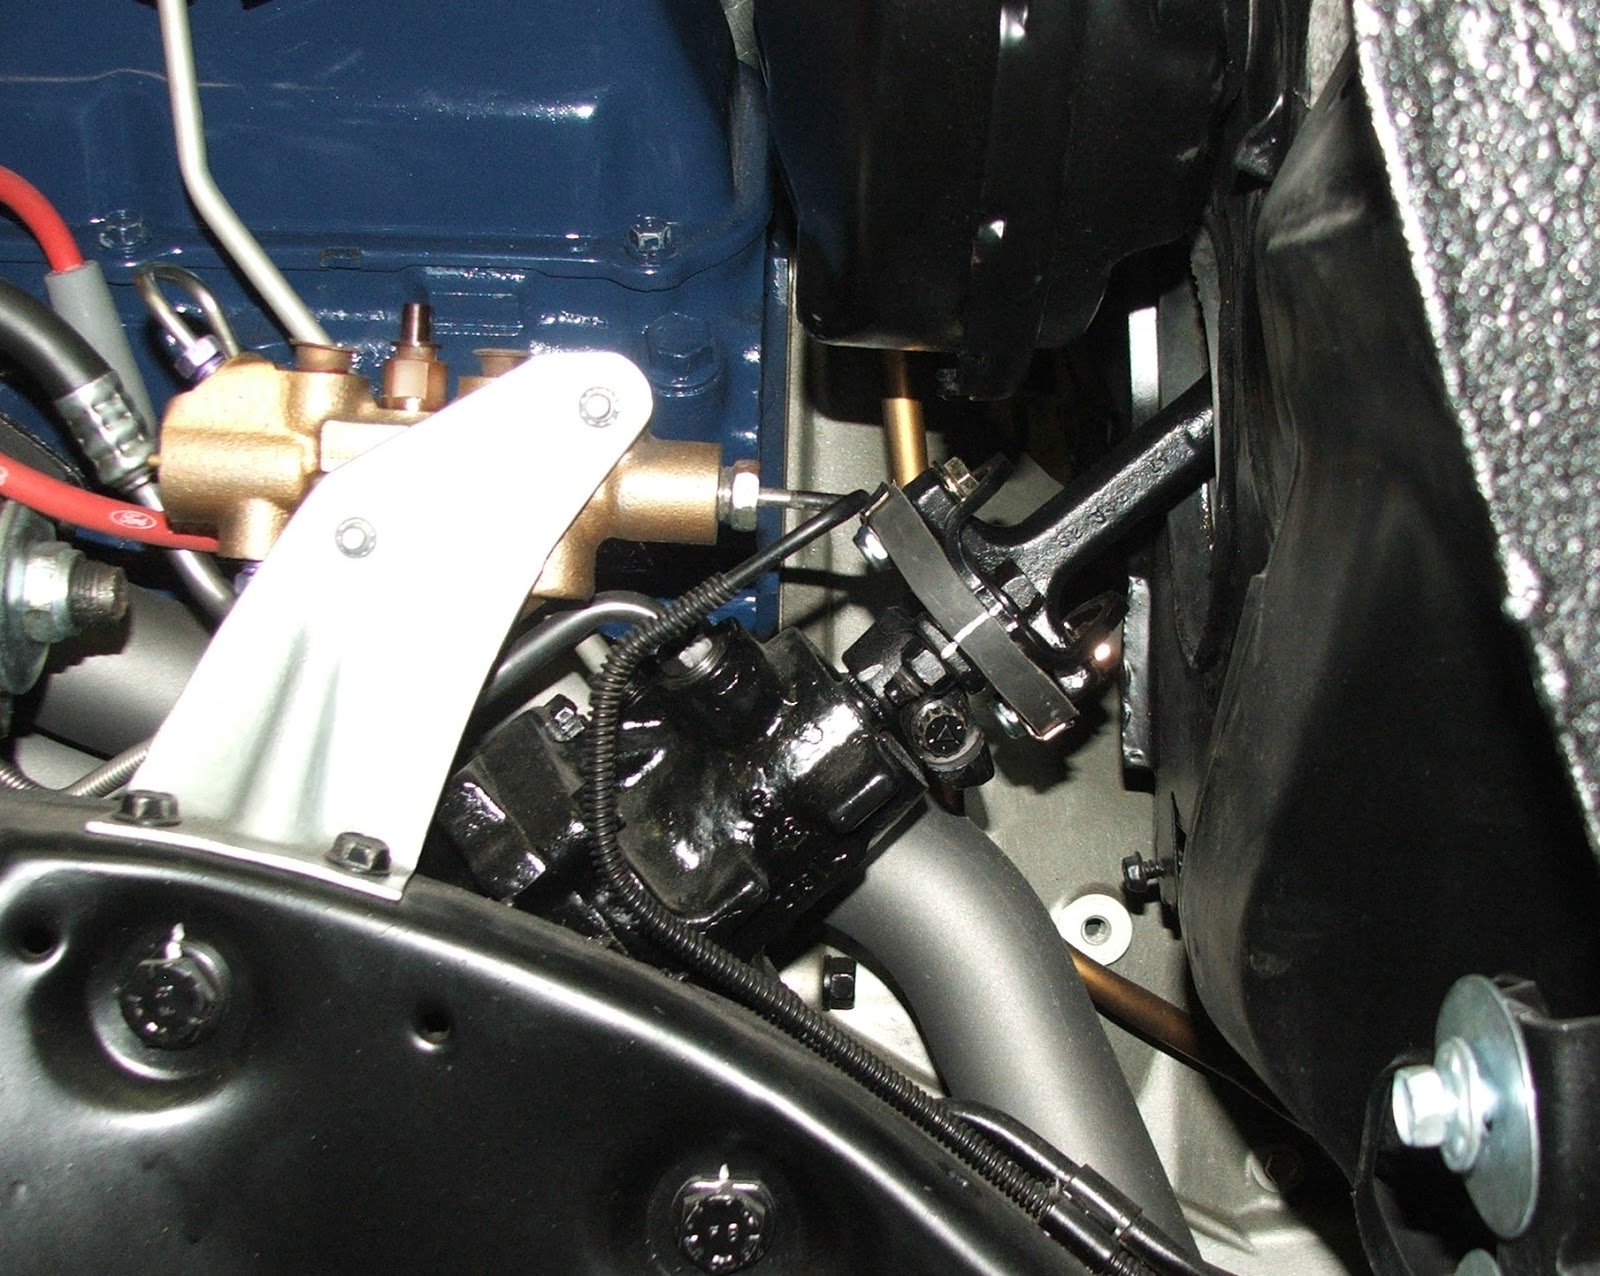
Then started trying to install it solo... man what a PITA!!! Index marked the steering box spline and the rag joint coupler...
so next weekend I can get them reassembled. I'll break down the rag joint back to it's individual parts and get the steering box coupler fully pressed onto the splined steering box shaft, the reassemble the rag joint and deadman bracket to the coupler and then reattach the extension shaft to the end of the column, tighten the pinch bolt and then bolt down the column to the interior firewall brackets. Then I'll then install the steering wheel and run the steering assembly thru it's travel to check operation as well as any unwanted points of contact.
Don't touch that dial...........
ZEBRA 3 OUT
4/9/17
Details 71...
A really productive day.... until I got ahead of myself! Got the firewall pads hung (used zip ties until I'm 100% satisfied before inserting the rubber retainers), the column braces, brake pedal support, accelerator pedal all hung, master cylinder and booster installed and the brake pedal pad and stainless steel trim attached.
I then unwrapped the steering column and the rag joint extension assembly and as I was trying to install the extension onto the steering shaft, I forgo...t to loosen and retract the pinch bolt in the extension clamp and inadvertently collapsed the steering shaft! GRRRR.... so I proceeded to disassemble the steering column so I could access the steering shaft and get it extended back to the necessary length.
Hopefully next weekend I can get the shaft extended, the column reassembled and the column and steering wheel installed back in the Tomato so it appears to be a car on the inside once more!
Stay tuned..............
ZEBRA 3 OUT
Stay tuned..............
ZEBRA 3 OUT
4/1/17
Details 70....
Well today I helped Jim install a new motor on one of the compressors then unwrapped the bulkhead connector. Will need to shoot one more coat on the backside to seal the previous coats along the cut line. (Note to future self: Mask part to hard edge so you can trim new rubber along that edge and not peel off the new layer of rubber with the tape!)
Brushed the locking hood release to clean it up a bit (I had the ignition switch rekeyed to match this key so one key will operate both locks)....
then traced out the firewall pads onto the new material...
and got them cut to shape.
Need to get some larger diameter gasket punches so I can make the larger circular cutouts as well as the corners on some of the larger opening. Dry fit them and they look like they are going to work nicely!!
Until next time....
ZEBRA 3 OUT
3/25/17
Details 69...
More sandblasting on the hood today...
second coated bulkhead connector...
and tried out the new shears...
NICE EASY CUT! Will outline the old firewall pads on the new material next weekend and get them cut out then wrap up the blasting on the hood.
Stay tuned....
ZEBRA 3 OUT
second coated bulkhead connector...
and tried out the new shears...
NICE EASY CUT! Will outline the old firewall pads on the new material next weekend and get them cut out then wrap up the blasting on the hood.
Stay tuned....
ZEBRA 3 OUT
3/19/17
Details 68...
A bit more progress... the carb rebuild kit nor my new sheers have arrived yet so I needed to find additional tasks to do.
The NOS parking brake release arrived last week, so the first order of business was to get that installed....
and wrapped to protect it until installation.
Next up was to trim away the excess Gorilla glue from the bulkhead connector seal...
and fill any remaining cracks with RTV...
before spraying it with the first coat of Plasti Dip.
From there, Jim helped me put the hood up on the stand in the blast booth and then I masked off the seams between the underhood bracing and the exterior sheetmetal (to keep as much sand as possible out of the the bracing)...
and then proceeded to sandblast it.
the blasting also revealed the factory grease pencil marks....
I know the 9D is paint code (Polar White) but not sure about the 789??
At first I was trying to get everything, but then I realized the factory red oxide primer was on pretty good and tough to get off so I decided to leave it and just knock of the body color. The remaining red oxide should offer a pretty good base for the new primer and finish coat to adhere to.
Once finished with the underside, Jim helped me flip it over so I can knock off the top side paint next weekend.
But before I could leave, I noticed I almost had a flat tire on my driver, so we pulled it in and Jim broke it down and removed the culprit.... a very small piece of metal had just barely penetrated the tire in one of the tread grooves. Amazing how something so tiny could have stood up and pushed it's way thru the tread!
Until next episode............
ZEBRA 3 OUT
Subscribe to:
Posts (Atom)