9/30/14

Chassis Painting.... part 1

I had to swing by the dealership to see what supplies I may need to pick up to continue shooting the underside of the Tomato this weekend, so I decided to grab the camera and take a few shots of the frame pocket and frame rails to see how well they came out...


Looks pretty good but I definately need to shoot some black INSIDE the frame rails! LOL, that will be first thing on the list to do on Saturday!

Until then....
ZEBRA 3 OUT

9/28/14

Chassis Prep... part 3

**CLICK ON PICS TO ENLARGE AND CLICK AGAIN TO SUPERSIZE**

I pulled the front wheelhouses and core support into the paint booth and washed them down in preperation for a coat of POR15.....


the shot the first coat of POR15 to the underside of the wheelhouses.....


and hit both side of the core support....
 

I also got the frame cavity in the underbody and the frame rails POR15ed and first coated with Eastwood Satin Chassis Black.

Next time shooting the underbody with POR15 and top coating with the Eastwood Chassis Black.

Stay tuned....

ZEBRA 3 OUT


Chassis Prep... part 2

**CLICK ON PICS TO ENLARGE AND CLICK AGAIN TO SUPERSIZE**

Broke out the quart of Eastwood Brushable Seam Sealer and started sealing up the floor pan seams. I've had the stuff since 2009 at the dealership in a cabinet in an uncontrolled temperature area of the shop that saw temperature extremes between about 40 & 110+ and I thought for sure the stuff would be unusable, but suprisingly, the sealer was still very creamy and spreadable and flowed very well sealing the underbody floor seams of the Tomato.....


Next up is prepping the front wheelhouses and core support for paint.

More to come.....

ZEBRA 3 OUT

9/27/14

Chassis Prep... part 1

**CLICK ON PICS TO ENLARGE AND CLICK AGAIN TO SUPERSIZE**

I had a pretty big gap in the driver side rear wheelwell where years ago when the car was repaired they just didn't get it closed up securly, so I cleaned the seam area really good, massaged the sheetmetal to get the parts to mesh a little better than they were, then applied a good dose of seam sealer between the panels and clamped them up tight......


after setting up for a couple days, I removed the clamps and dressed up the seam and POR Putty covering the weld seams......


got a bit too aggressive dressing up the seam and had to apply a bit more putty......


also applied POR Putty to the trunk drop off and dressed it down......


I also applied some POR Putty to the wheelhouse seam lip to smooth it up a bit......


Next installment I start applying the seam sealer to the floor pan seams.

Until then...

ZEBRA 3 OUT

9/14/14

Clean sweep... COMPLETE

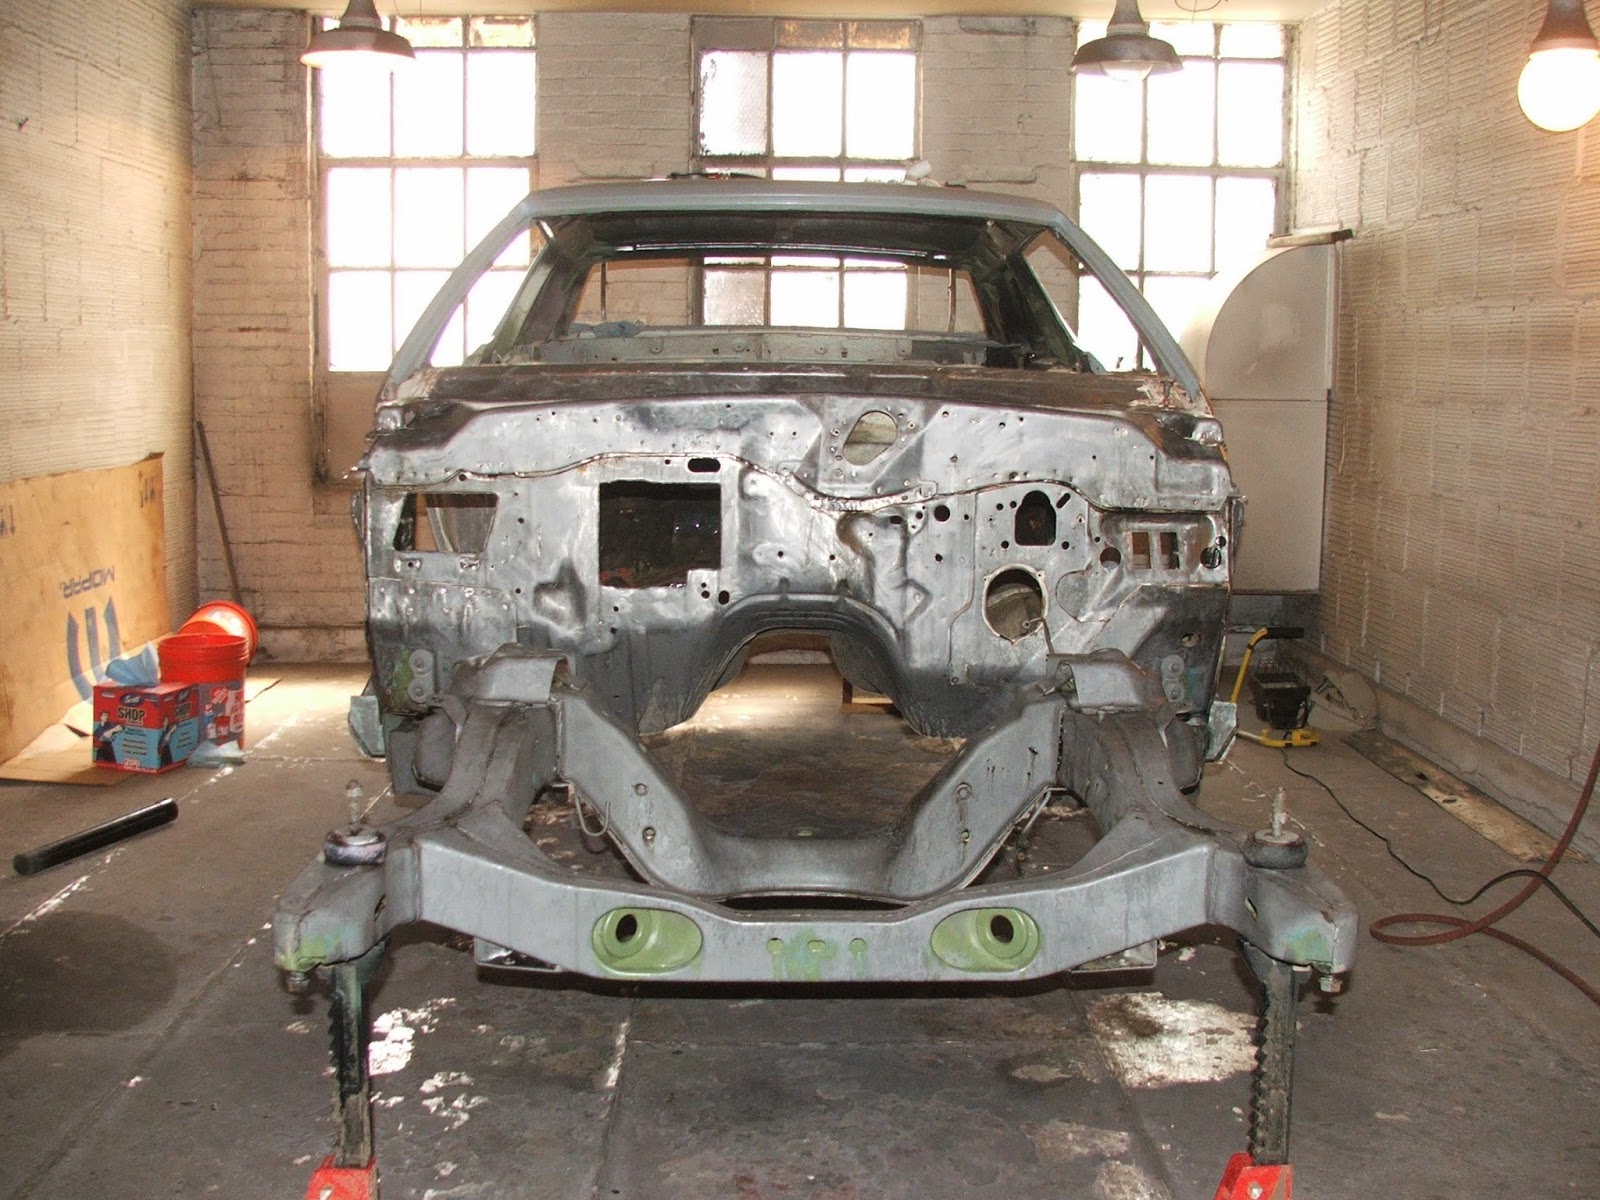
Since last installment, I got the inside of the frame rails vacuumed out, straightened the pinchweld seam along the passenger side rocker


and the driver side trunk dropoff....


wiped down the fuel tank area of the underbody that I had previously blasted and painted and dressed down a few areas I had coated from above with POR Putty....


started dressing some of the welds created when the inner structure was repaired....


and when I welded up a misdrilled set of console bracket holes on the transmission tunnel...


coated the inside of the frame rails with the Eastwood Inner Frame Rail Coating......


washed down the underside of the body and chassis with lacquer thinner, primed the area I dressed in the tank area with POR15 Self Etching Primer...


prepped the firewall front chassis with POR Metal Ready in preparation for painting the underside of the body/chassis...


applied the POR Putty to the rear wheelhouse weld seams and trunk drop off...


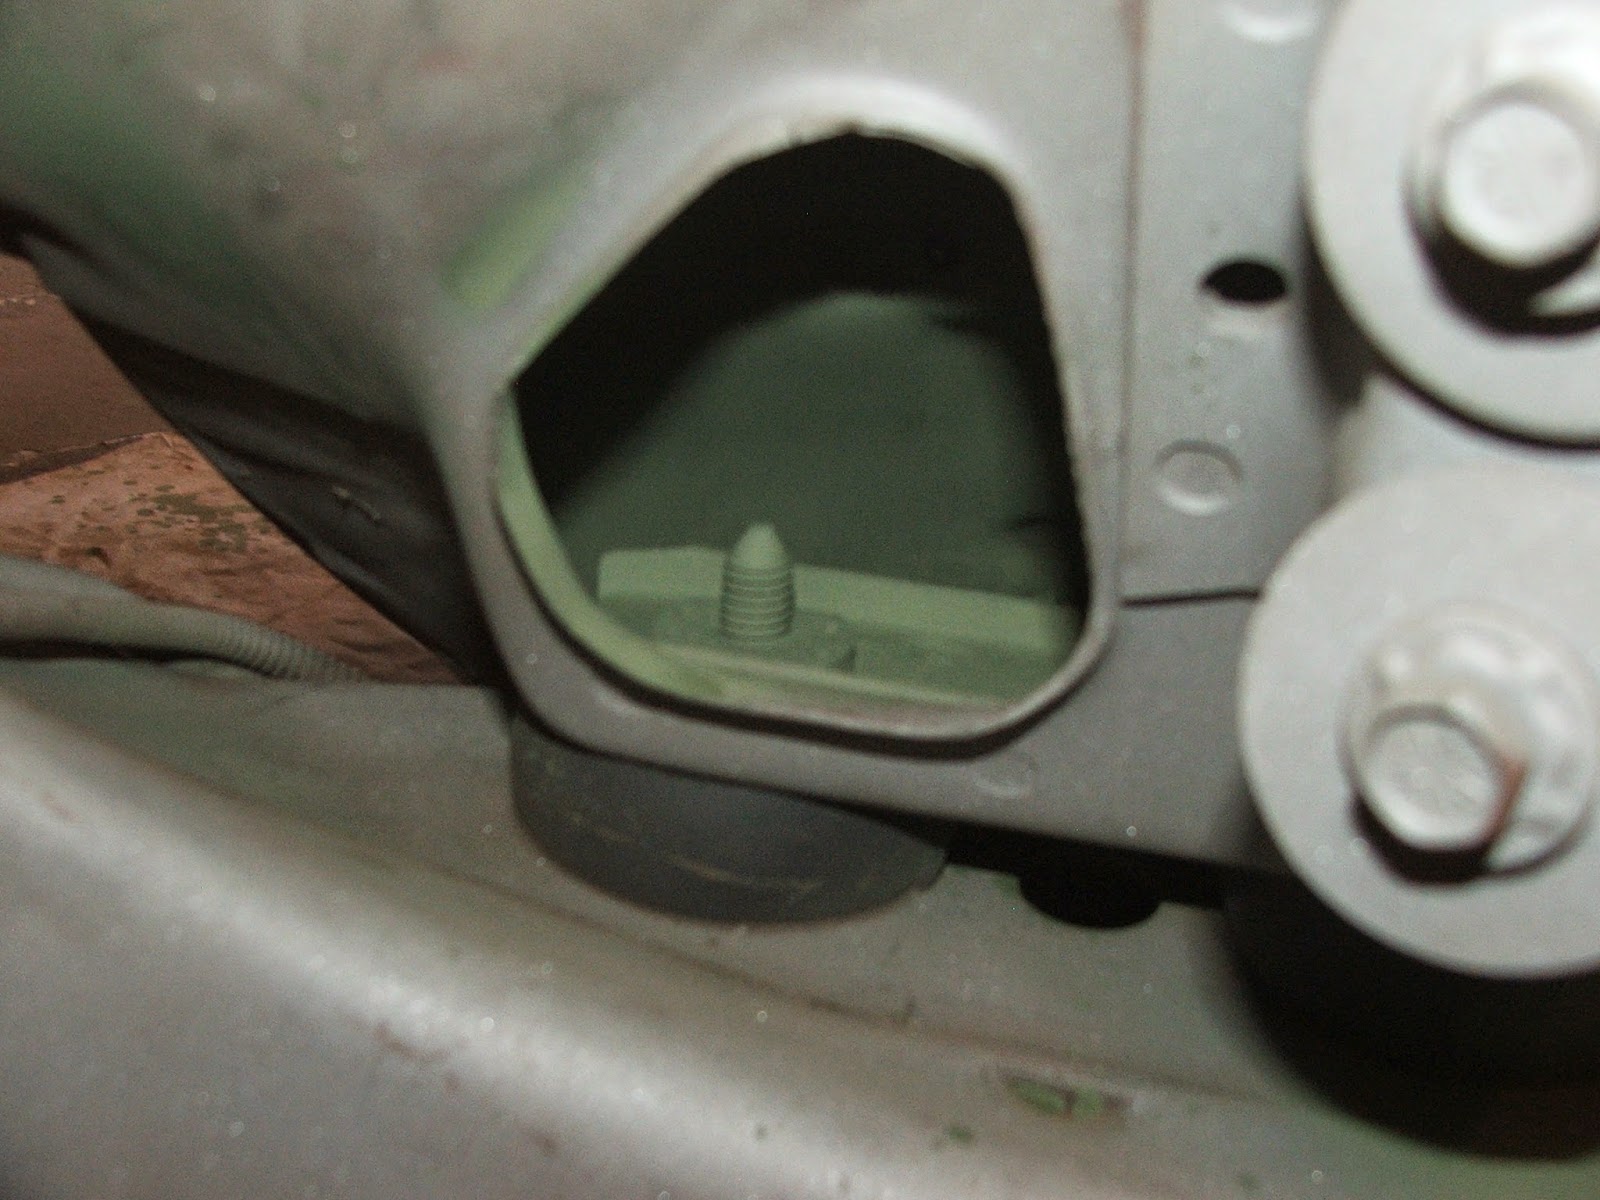
and drilled out and retapped the wiper motor mounting nut that the screw broke off in during disassembly...


I scotchbrited and prepped the open rear wheelhouse seam with POR Metal Ready so we can apply some panel adhesive into the seam and reclamp the first of the week.

Plans for next weekend are to dress down all the POR Putty covering the splice welds in the wheelhouses and along the trunk drop off and any panel adhesive that may have oozed from the wheelhouse seam and apply one last coat of Eastwood Inner Frame Rail Coating (NOW they have it in BLACK!!!) and get ready to start applying the POR15 and Eastwood Satin Chassis Black to the frame, firewall and underbody.

Until next installment.....

ZEBRA 3 OUT