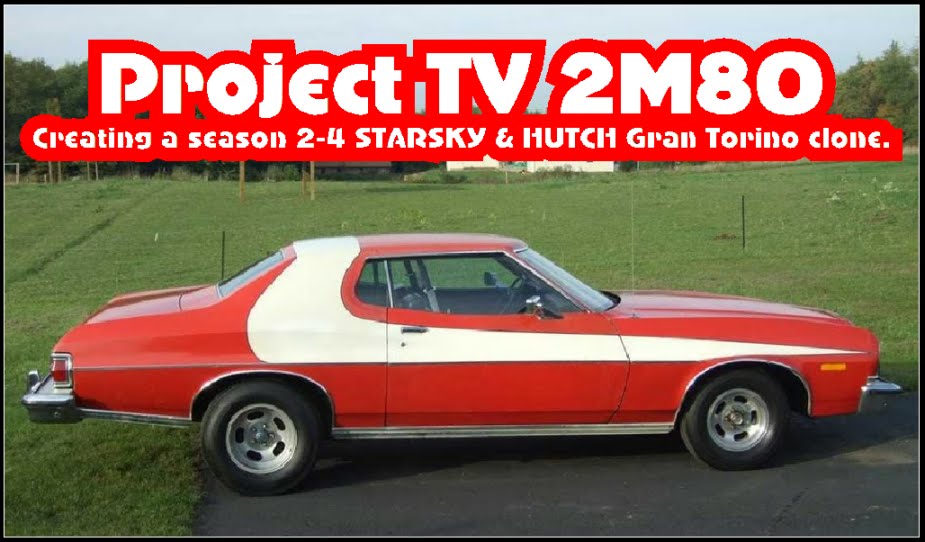
Been several months since I've updated my blog so I'll try and get things brought up to day. When I posted last, I had the roof skin off my Torino and beginning the interior structure repair. I removed my damaged center roof brace and while I had it out I installed the second Cougar roof brace before also installing the Cougar center brace. Once I had them welded in place, I removed the old damaged "tar paper" insulation and will replace it with some more modern high tech insulation material prior to buttoning up the roof skin.


Speaking of the roof skin, I cleaned off all the old insulation adhesive, scuffed it up with a scotch brite wheel, applied a coat of POR-15 as well as a coat of POR-15 self etching primer in preparation for the finish coat prior to installation.


With the roof bracing installed and the roof skin prepped, I turned my attention to getting the dash panel out of the car detailing. I actually pulled mine just before the Thanksgiving holiday ('09). Since I have to keep my car driveable, I needed to leave the harness intact so I can move the car around the dealership if needed so I might have had to do a bit more that someone who can just unplug the harness from the bulkhead connector??
There is a bolt and a nut on each end of the dash panel that must be removed (I left them barely engaged so the weight of the dash would be supported until I had everything out of the way and was ready to remove the dash from the car) as well as a couple sheet metal brackets and a heavy brace just to the right (passenger side) of the dash center.
I had already removed the dash pad, cluster, glove box & door, HAVC vents, etc so I was that far ahead of the game. Before I started loosening up the mounting hardware, I first removed the HVAC and other electrical controls and the ash tray assembly and pushed/pulled them free of the dash. Again, since I was leaving the harness in the car, there were a few harness hangers that needed to be opened up and the harness freed from. I replaced any hardware that may have been removed to prevent them from getting lost and reminding me where everything went during reassembly.
There are also a couple semi-rigid rubber/plastic harness protector/hangers on the drivers side where the harness goes around the column and then divides for the cluster and the rest of the dash run. The longer piece just below the HVAC control is held on by three screws and the smaller piece below the wiper controls is held on by two screws all of which are threaded into the sheet metal dash reinforcement.
I discovered three cracks in my dash that I needed to protect and keep from making worse. (You can just make them out in the attached pictures) One was across the thin section below the glove box door, another just below the ash tray and the last was just starting below the HVAC controls. There is a sheet metal reinforcement that runs along the bottom of the dash panel. To maintain the structural integrity of the plastic piece, any hardware that was removed that went thru the plastic and threaded into the metal bracket was replaced. This particularly included the glove box door hinge hardware to prevent any further damage to that end of the panel.
With everything removed and the dash panel ready for removal, I pulled the steering wheel and then removed the four fasteners at each end of the dash. With those out, it was a simple matter of pulling the panel forward and removing it from the car. With the panel out of the car, I replaced the hardware at the ends of the dash, the steering wheel and tied the harness up out of the way. With a little patience you should be able to remove your dash without damage and if you are pulling the harness out with the panel, it should be a bit simpler and quicker that my endeavor…??


With the dash removed, it was now time to turn my attention to finally repairing the damage driver's side "C" pillar inner structure. Until the next installment....
ZEBRA 3 OUT
