
With the Torino back, the doors off and the harness holes pulled, it was time to add the mounting holes for the remote chrome mirror to the passenger door, clean up the insides and strip the remaining paint from the bottom and hinge ends of both.
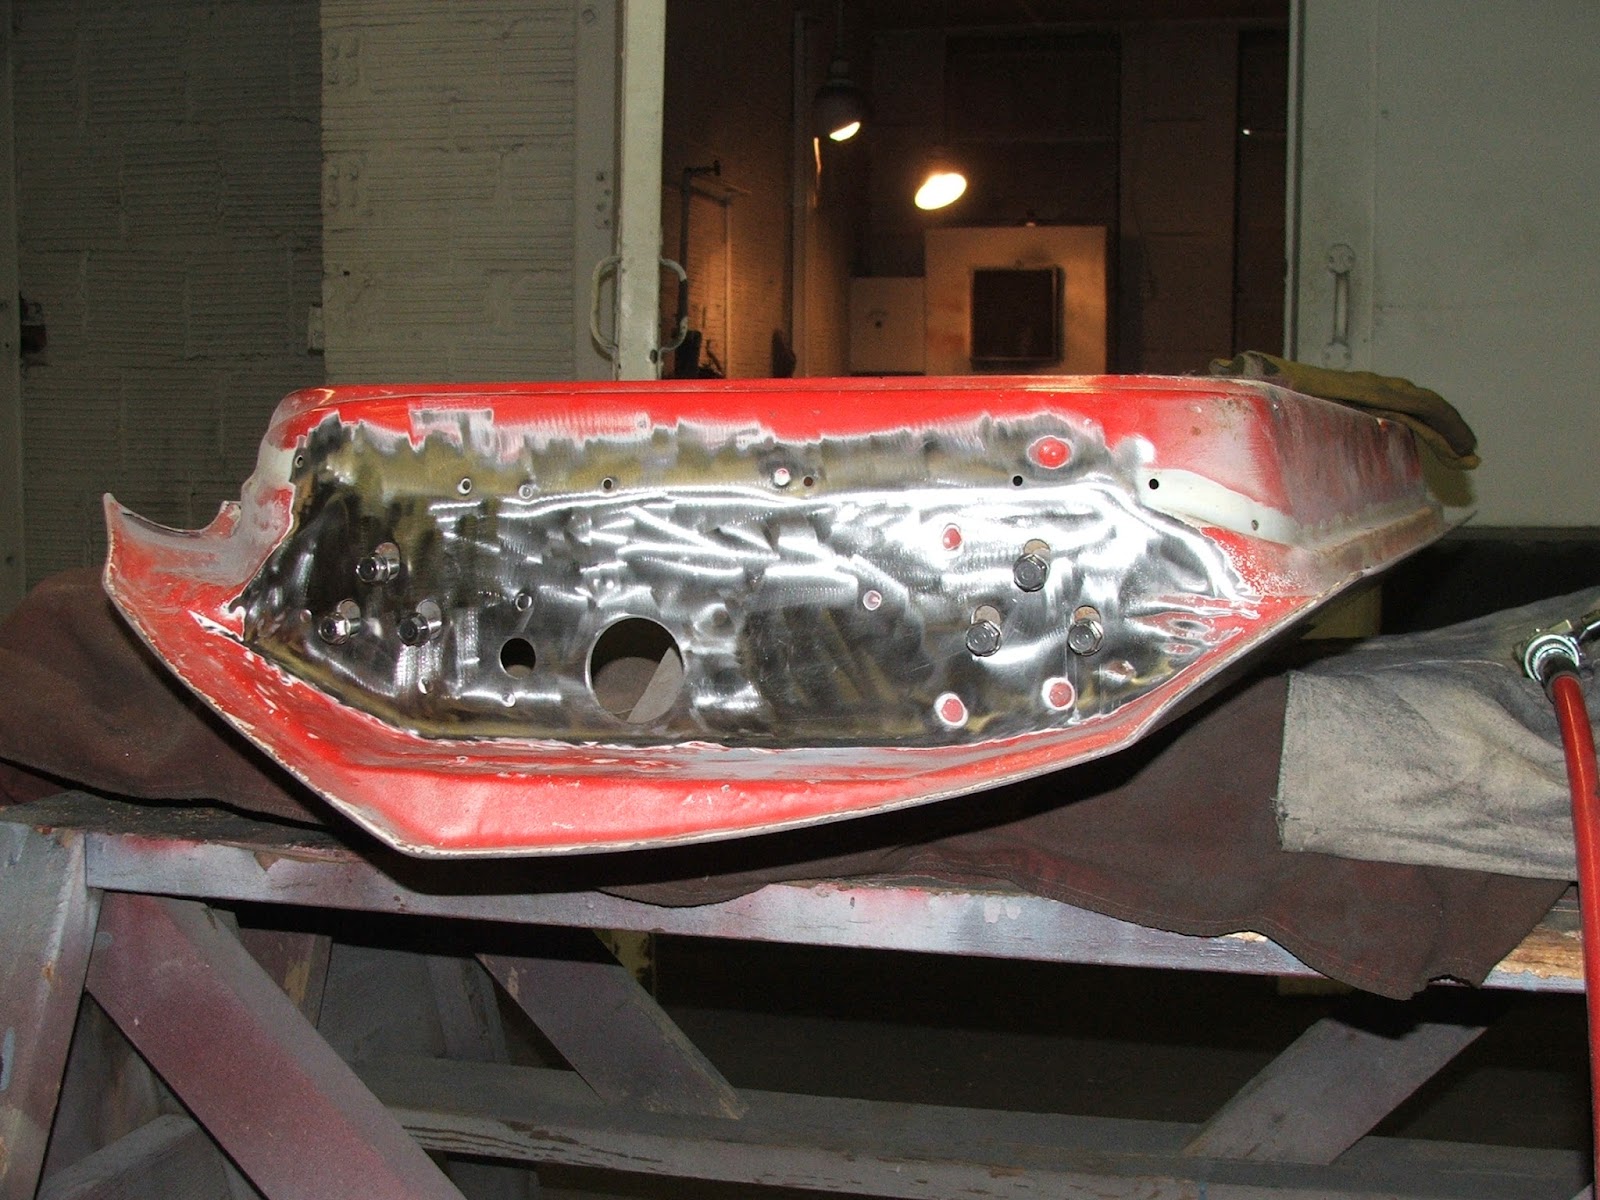
Since drilling and cutting the holes for the mirror would make more shavings inside the door, I decided to do that first so I wouldn't have to clean up the passenger door twice. Using the driver's door to create a template, I placed the template face down on the passenger door, effectively mirroring the mounting pattern, and marked the necessary openings onto the door. I used an 1/8" bit to drill the 4 corners of the rectangular remote controller feed thru opening and a 5/16" drill for the front mounting stud and a 3/8" drill for the rear. Then I used my cutoff wheel to create the rectangular opening. I made the top and bottom cuts with an old wheel that was getting pretty small so I changed to a new wheel and, not thinking it thru, I proceeded to make the front and rear cuts. Due to the larger wheel diameter, the front and rear cut lines extended past the corner radius... CRAP!!!!

These will get covered by the body glazing and ultimately the mirror, so my fubar will be covered up.... THANK GOODNESS!

With the mirror mounting out of the way, the next step was to address the hinge areas. I guess Ford installed the hinge to the door prior to them going thru thr paint line because there was no paint whatsoever underneath them.....

so a few minutes spent with a scotch-brite pad on the grinder and chading the threads with a tap and cleaning the bolts up on the wire wheel and things looked a bit nicer....
Now with both door hinge areas cleaned up, was time to start cleaning the caulking strip used to hold the watershields in place off the inner face. A little lacquer thinner, a scotch-brite pad and elbow grease and the gunk was gone....


Now to the insides of the doors. First order of business was to vacuum out all the crud that had accumilated inside them. I used a small blade screwdriver to break-up all the dirt that had packed itself into the lower door seams and made sure the drain holes were open....


With the insides of the doors clean, was time to finish stripping the paint from the rest of the outer surfaces.
Stay tuned.......
ZEBRA 3 OUT