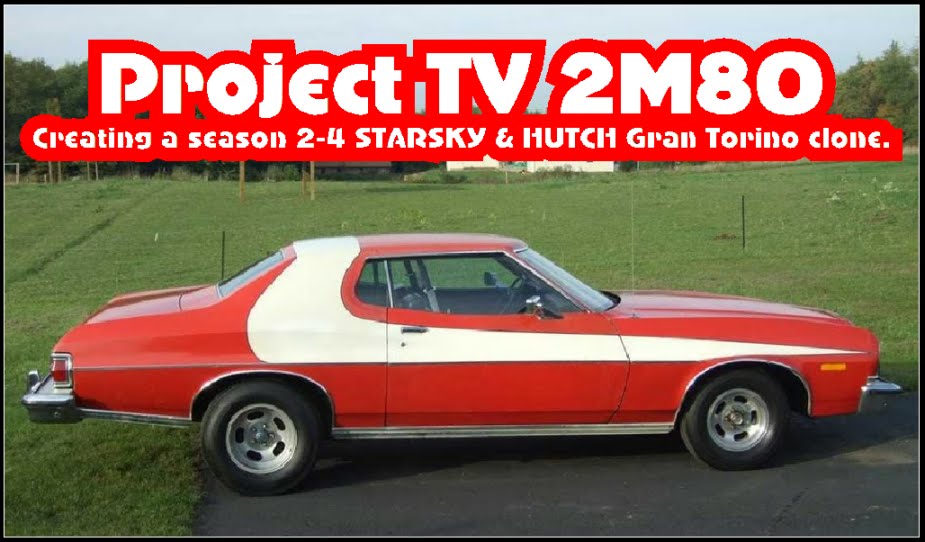
Well my buddy Jim and I had started pulling the front suspension a couple weeks ago and then hit a snag trying to remove the front strut rods. So rather than tearing something up, we called it a day so I could seek the advice of the guys on the Gran Torino Sport forum. Good thing I did because I found out the bolts are splined/serrated to index into the lower control arms... that would have been a real mess if I had buggered the strut rods up!
Anyway, today I got both the front strut rods removed as well as the drivers side front suspension. That was another adventure... With no engine in the car, I had no weight up front to allow me to place a jack under the lower control arm and slowly lower the arm as the spring expanded, so I would have to compress the spring to release the pressure off the LCA. I tried using a coil spring compressor I got from Advance Auto Parts like you are supposed to, but I couldn't get a good grip on the springs AND get the threaded shaft to exit thru the top shock mount so I could compress the spring enough to release the pressure, so I went with plan B.
One of the guys on the GTS forum said had run into the same situation I was in and he compressed the spring into the spring frame pocket, disassembled the suspension then released the pressure off the spring, so I removed the threaded part of the compressor from the threaded shaft, dropped the shaft and the "free wheeling" hook assembly down thru the shock mount then fed the threaded hook assembly up thru the lower shock opening, started it onto the threaded shaft, hooked a couple coils and started compressing the spring. It worked pretty slick compressing the spring into the frame cavity. Once I had it compressed enough to take the majority of the pressure off the lower control arm, I removed the castle nuts from the ball joints and commenced disassembling the suspension.
As the LCA began to drop down, the coil spring began to cock forward. I stopped for a minute once the control arm was fully down to see what the spring was going to do but once it cocked forward it found it's resting spot so I continued to remove lower control arm. With the arm removed, I began to slowly release the pressure on the spring. As it got close to the end of the compressor threaded shaft, I stopped and checked to see how much pressure was still on the spring. While it was no where near what it was when I started releasing the pressure, there was still some force left in the spring and I didn't want to release it from the compressor unrestrained. I took the chain off my engine hoist and hooked one end around the last coil of the spring then wrapped the chain up over the frame and back around to the captive coil and hooked that end around the coil as well.I then found and old tire and a box full of smaller boxes that I had been keeping to store assembly ready parts in and place the tire and the box-o-boxes under the spring so once the threaded hook assembly unthreaded from the compressor shaft, the spring could shoot into the boxes and tire to absorb it's remaining energy. With everything in place, I climbed up onto the frame crossmembers (so I would be out of harms way) and finished releasing the spring. While there wasn't too much energy left in the spring, it did release with a bang! LOL
With the spring out of the way, I finished removing the upper control arm.....
Next week I'll remove the passenger side suspension then finish sandblasting the frame and then the fun begins cleaning all the sand from every nook and cranny of the frame and body and getting all that prepped and painted so reassembly can commence and get her back to the team at F3!
Until next time............
ZEBRA 3 OUT


