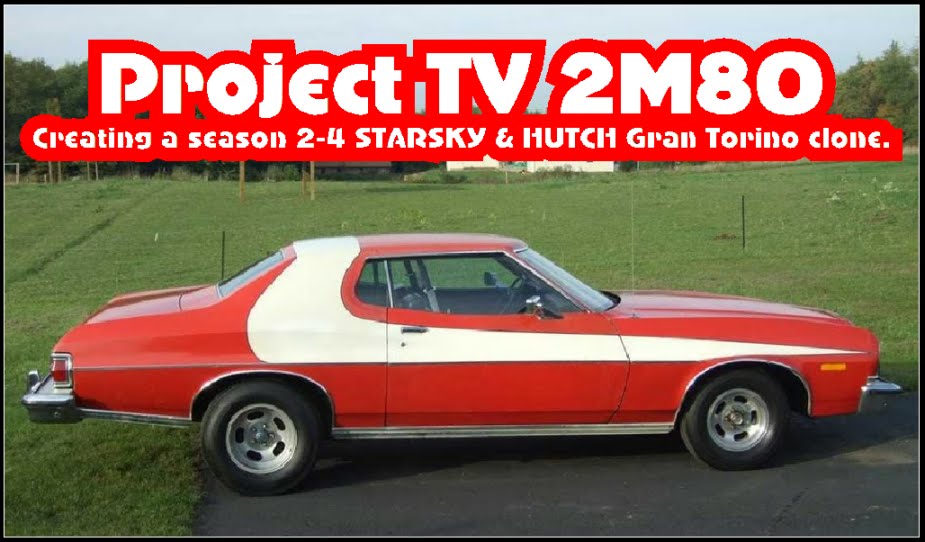
Over the Thanksgiving holiday, I had a few days off so I went and worked on the Torino for a bit. The first thing I did was to get the inner quarter panel structure shipped off to Carolina Chem-Strip to get the pieces cleaned up. I'll have a blog on all that once I get the parts back…
With the sheet metal parts out of the way, I turned my attention back to the Torino. It had been almost a year since she was last started, so the first order of business was getting the 460 fired. After figuring out why the starter wasn’t turning (I had lost my ground wire off the solenoid to the frame), a quick splash of fuel into the carb and she sputtered to life. After several splash-of-gas sessions, the fuel finally reached the carburetor from the tank and I was able to keep her running. Definitely need to siphon out all the old gas and put some fresh fuel in the tank (along with a couple bottles of carb cleaner to break up the varnish) because she was running rough and stinking up the place!
Next, I decided it was time to pull the evaporator housing off the firewall and drop the heater box from under the dash so I could begin to prep the firewall for paint. After about an hour, I had the housings removed and stuck back together so I wouldn’t lose any of the parts and protect the heater core and evaporator from damage. I’ll do a separate write-up on the HVAC housing restoration one that begins at a later date.

With the evaporator out of the way, I undertook the removal of the EGR tube along the back of the engine between the heads. The spare 460 I have on the engine stand has had the EGR tube clipped off and welded at the head connections, so I removed the fittings for replacement on the Torino’s 460 once the tube was removed.
I then proceeded to remove the remnants of the windshield sealant from the cowl area in preparation for cleaning up the cowl. I used lacquer thinner and a scotch-brite pad to speed up the process. The thinner really broke down the sealant nicely and in no time I was finished.
The last order of business was to remove the firewall padding from the passenger side of the interior and get that side of the floor ready for painting. I noticed one of my console bracket screw holes was a little sloppy, so I did a quick spot weld to close it up a bit and ground it smooth. A thorough vacuuming and wipe down with more lacquer thinner and I was ready to apply a brush coat of POR-15 to the passenger side floor. About an hour later I had cleaned up my brush and dauber and was admiring my handiwork.
All in all, was a fun filled three days working on the Torino.
Stay tuned....
ZEBRA 3 OUT


