Some progress the last couple weekends.
Last Saturday I repaired the ignition key reminder switch
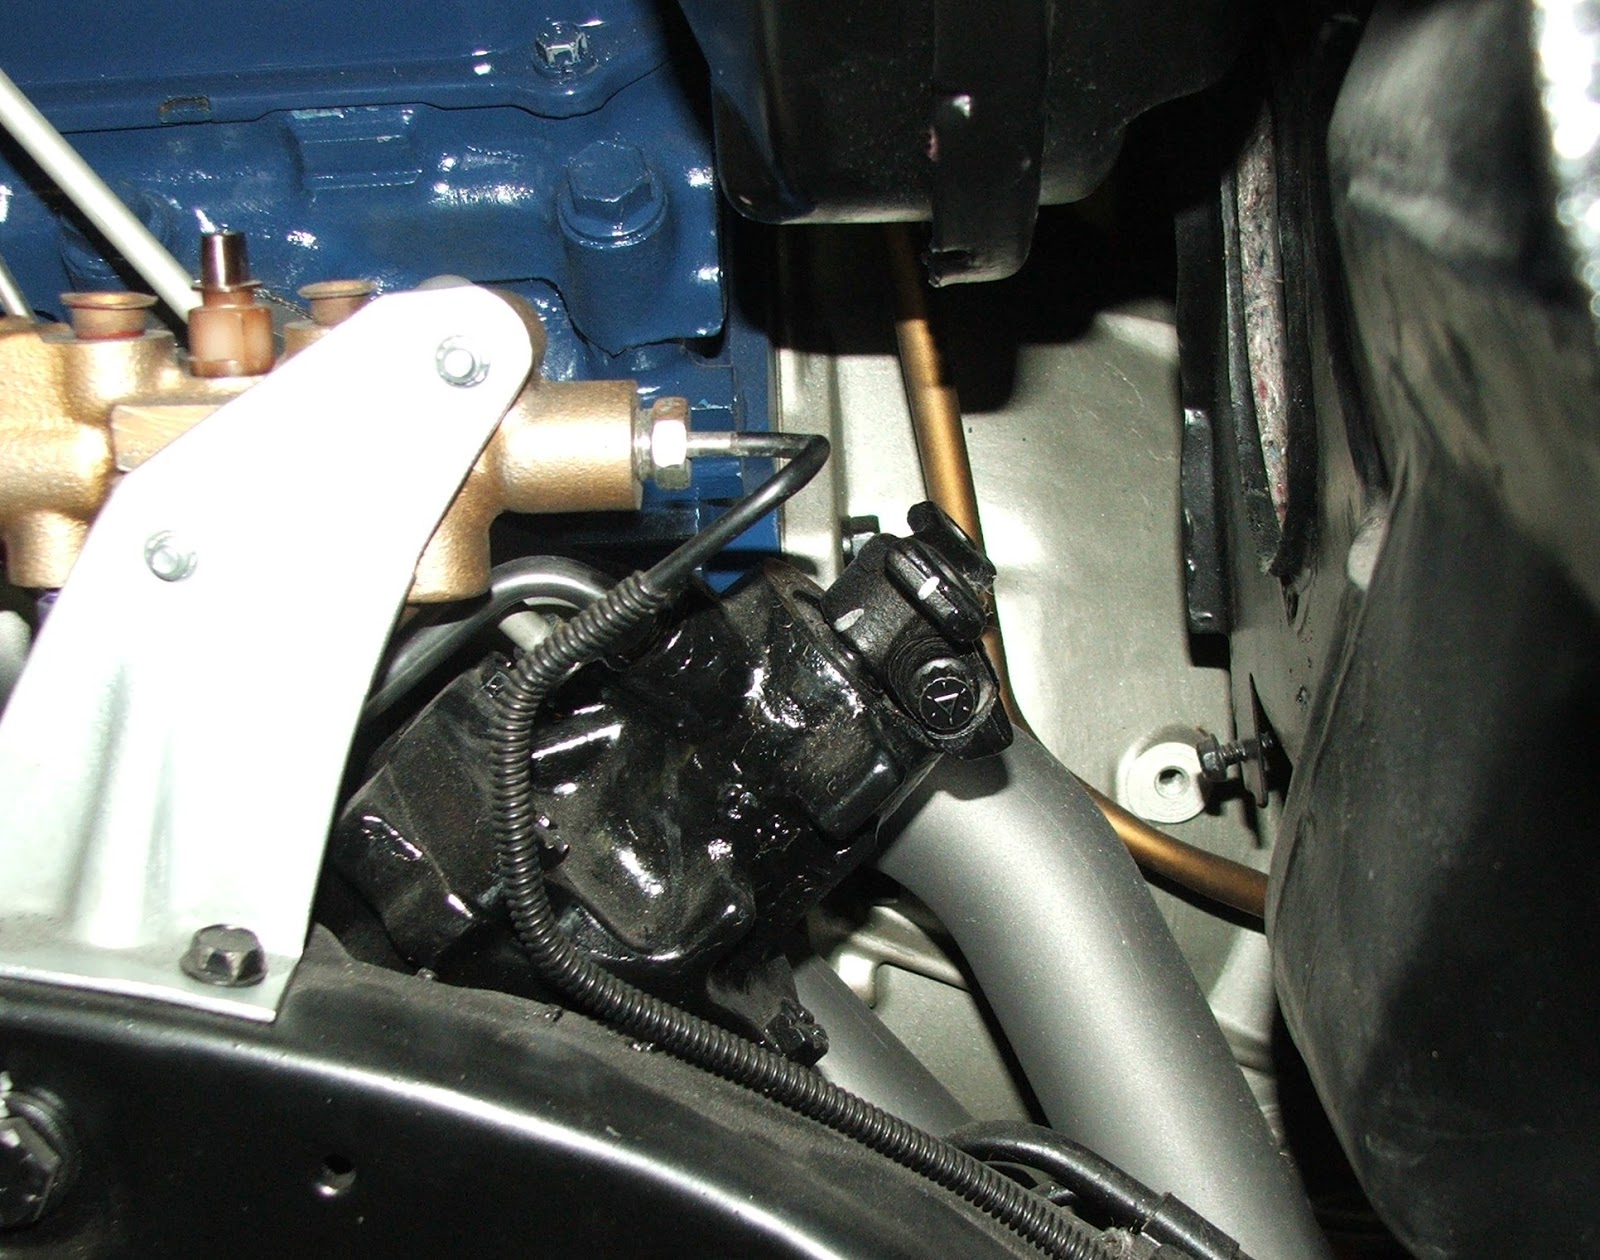
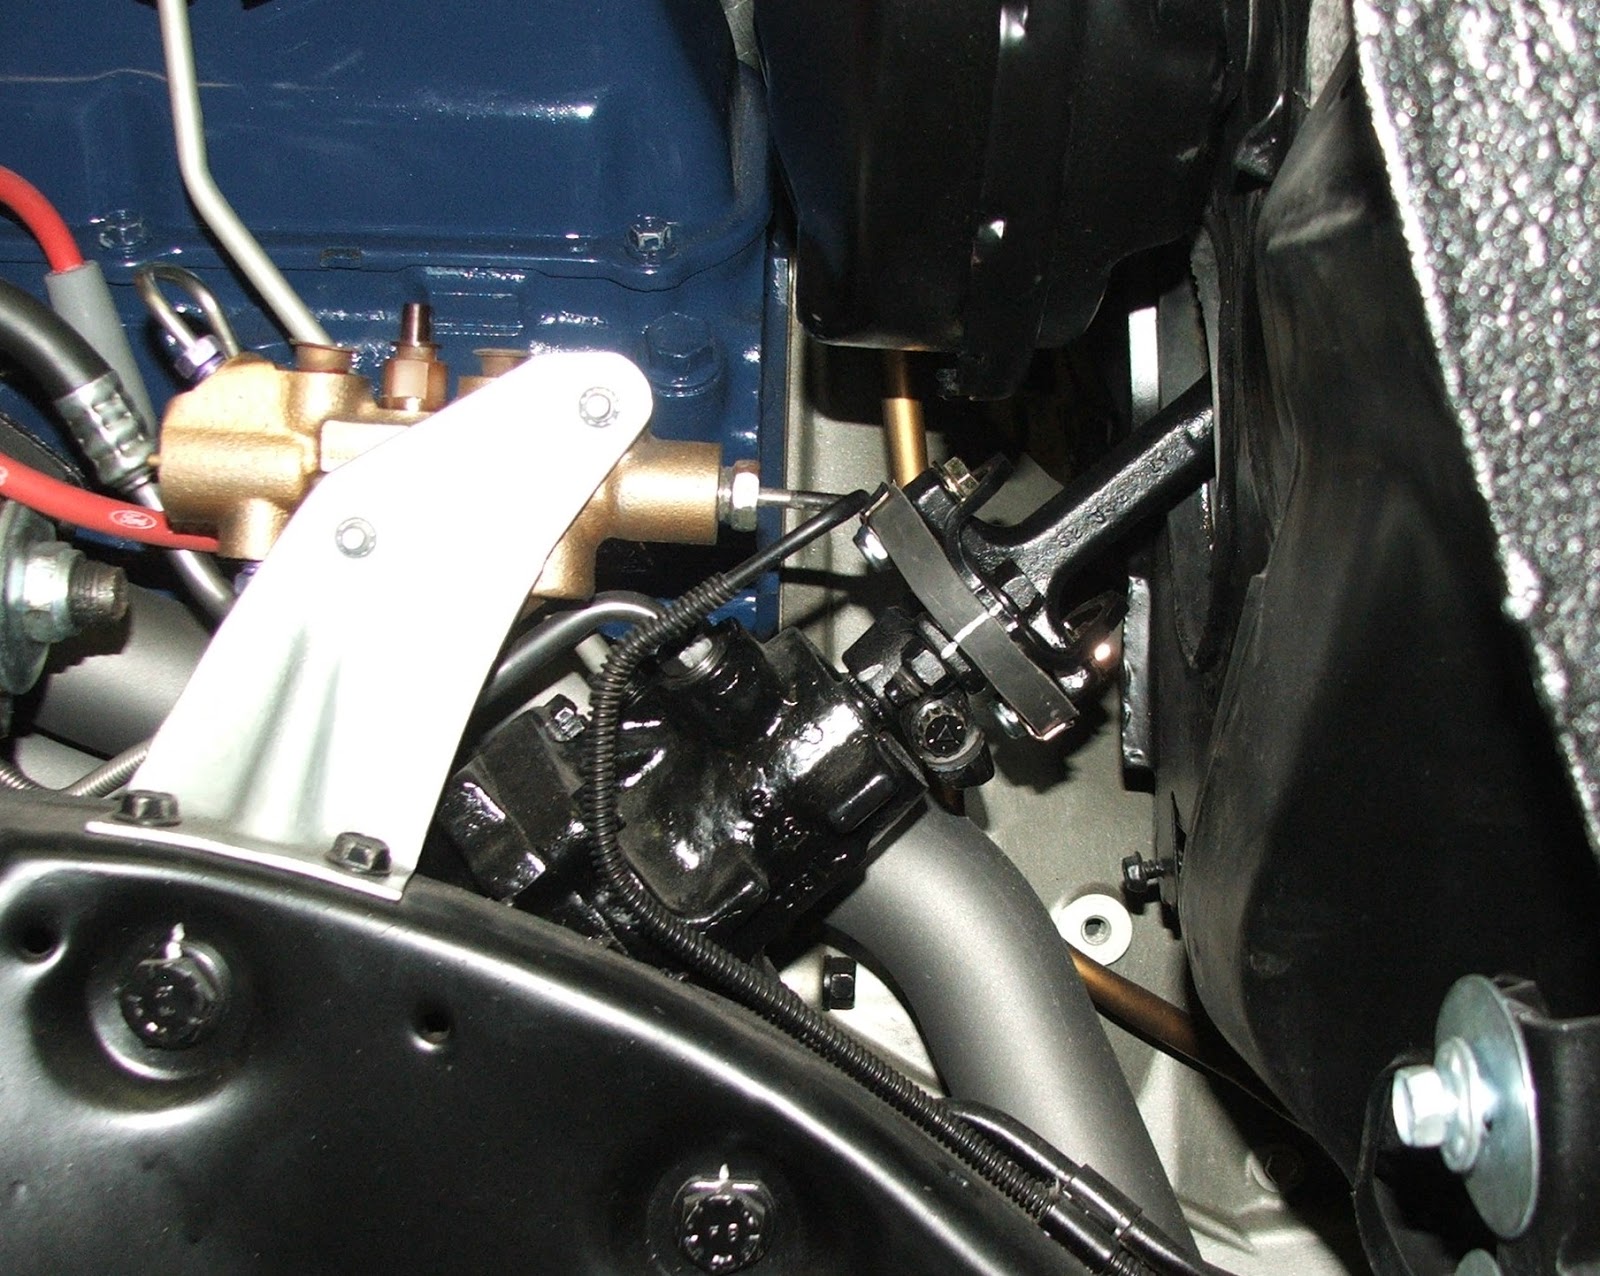
and installed the firewall pad retainers for the driver side pad before moving on to a few major items. Installed the core support and the wheel houses, then clipped the wiring harnesses into position, then hung the starter solenoid and the ignition module...
This Saturday, I got pan bolts and drain plug tightened, transmission support and crossmember tightened up, fluids added...
battery cables and engine ground installed, (battery core used for placement)...
transmission lines jumpered together...
and old distributor converted to oil pump primer...
Next weekend I'll tighten up the motor mounts, pull the distributor, wires and plugs, prime the oil pump while turning the crank by hand, reinstall the distributor, wires and plugs, hook up a temporary fuel source, snag the battery outta the Fairlane and LIGHT THIS MUTHA OFF (fingers crossed)!!
Won't be too much longer before I'll be playing the BIG BLOCK BOOGIE!!
Hang in there...
ZEBRA 3 OUT
5/20/17
5/7/17
Update 74A....
We had a surprise visit from my daughter and her husband this weekend (on leave from the USN stationed in Virginia Beach) so there was nothing done on the Tomato, but she did want to go see how it was moving along, so I took along the camera to document last weekends progress.....
Until next time.....
ZEBRA 3 OUT
Until next time.....
ZEBRA 3 OUT
4/30/17
Update 74.....
Fairly productive day Saturday, necessary wiring harnesses hung to allow engine to be started, belts removed, ignition module plugged in and started plugging all open vacuum ports before getting the call from Debbie that she had fallen and possibly broken her wrist. I quickly covered things up and shut down the lights before getting any pics of the progress. As my buddy Jim said, it'll all be there waiting on me next weekend!
Stay tuned...
ZEBRA 3 OUT
Stay tuned...
ZEBRA 3 OUT
4/23/17
Details 73...
Well got the column and the steering wheel installed as well as the parking brake assembly and the locking hood release. Need to fab up a bracket I think to get the hood release mounted solidly.
Next weekend I hope to start hanging the wiring harness in preparation for getting this mutha lit off!
Stay tuned.............
ZEBRA 3 OUT
Next weekend I hope to start hanging the wiring harness in preparation for getting this mutha lit off!
Stay tuned.............
ZEBRA 3 OUT
4/16/17
Details 72....
A short frustrating day Saturday.... determined the assembled length from the old fixed column out of the Torino...
got the steering shaft pulled apart
lubed the anti-rattle clips
and reinserted to the approximate length and the entire column reassembled.
Then started trying to install it solo... man what a PITA!!! Index marked the steering box spline and the rag joint coupler...
so next weekend I can get them reassembled. I'll break down the rag joint back to it's individual parts and get the steering box coupler fully pressed onto the splined steering box shaft, the reassemble the rag joint and deadman bracket to the coupler and then reattach the extension shaft to the end of the column, tighten the pinch bolt and then bolt down the column to the interior firewall brackets. Then I'll then install the steering wheel and run the steering assembly thru it's travel to check operation as well as any unwanted points of contact.
Don't touch that dial...........
ZEBRA 3 OUT
4/9/17
Details 71...
A really productive day.... until I got ahead of myself! Got the firewall pads hung (used zip ties until I'm 100% satisfied before inserting the rubber retainers), the column braces, brake pedal support, accelerator pedal all hung, master cylinder and booster installed and the brake pedal pad and stainless steel trim attached.
I then unwrapped the steering column and the rag joint extension assembly and as I was trying to install the extension onto the steering shaft, I forgo...t to loosen and retract the pinch bolt in the extension clamp and inadvertently collapsed the steering shaft! GRRRR.... so I proceeded to disassemble the steering column so I could access the steering shaft and get it extended back to the necessary length.
Hopefully next weekend I can get the shaft extended, the column reassembled and the column and steering wheel installed back in the Tomato so it appears to be a car on the inside once more!
Stay tuned..............
ZEBRA 3 OUT
Stay tuned..............
ZEBRA 3 OUT
4/1/17
Details 70....
Well today I helped Jim install a new motor on one of the compressors then unwrapped the bulkhead connector. Will need to shoot one more coat on the backside to seal the previous coats along the cut line. (Note to future self: Mask part to hard edge so you can trim new rubber along that edge and not peel off the new layer of rubber with the tape!)
Brushed the locking hood release to clean it up a bit (I had the ignition switch rekeyed to match this key so one key will operate both locks)....
then traced out the firewall pads onto the new material...
and got them cut to shape.
Need to get some larger diameter gasket punches so I can make the larger circular cutouts as well as the corners on some of the larger opening. Dry fit them and they look like they are going to work nicely!!
Until next time....
ZEBRA 3 OUT
Subscribe to:
Posts (Atom)