More progress this weekend.... vacuumed up the sand, sifted and reloaded the hopper and got the underside of the deck lid blasted. Kinda a short day because had to get home and cleaned up for the company Christmas party.
Need to get all the remnants of the jacking instructions removed and hit a few areas inside the bracing before treating the hidden areas with Eastwood Rust Converter, applying some POR-15 to the inner seam areas and the applying new seam sealer.
Will get the decal and inner structure taken care of next weekend and the get started blasting the driver side fender....
Until next episode....
ZEBREA 3 OUT
12/3/17
11/26/17
Details 88....
FINALLY a bit of progress!
After messing with the oil/water traps in the blast booth for a bit (have been neglected for years and I need to order some additional pieces)...
I attached a longer air hose to the blast cabinet air line and pulled it into the blast booth and attached it to my new sand blast gun.
Was able to get about half of the underside of the deck lid blasted before running out of sand...
so next weekend I'll be vacuuming up and sifting the sand in the blast booth before wrapping up the deck lid and moving on to the next piece.
I also blasted a few parts in the blast cabinet before calling it a day.
I guess the problem with my old sandblaster was that it was just wore out after may years of faithful service. I also converted my new gun from a siphon tube style to siphoning the sand from the bottom outlet of my old sandblaster hopper. Was working really well until the sand was depleted....
Fingers crossed that I get the deck lid finished and can get started blasting on the LAST major piece of sheet metal... the driver side front fender.
Until next episode...
ZEBRA 3 OUT
11/19/17
Details 87...
Well on the Torino front, not much progress this weekend. I did get the charcoal canister rehung...
and added a few more quarts of fluid to the C6 on the recommendation of my transmission guy.
I added the desiccant filter to the blast gun without much success, but then again I didn't spend much time trying to debug it because I was helping my buddy install new vent pipe on the oil burner furnace at the dealership.
Hopefully I can get it figured out next weekend and wrap up the deck lid stripping and get started on the driver side fender.
WISH ME LUCK.....
ZEBRA 3 OUT
11/12/17
Details 86....
Well another unproductive weekend, but I think I've found the solution to my sandblasting problem.
Another weekend trying to blast that was filled with frustration. I drained the air compressor as well as the air line filters into the blast booth, but could not get the sand to pick up. Then I remembered the disposable water trap I had installed on my paint gun, so I removed it from the paint gun and attached it to the blast gun air line and the media began to flow!
Got about 1/3 of the seam sealer blasted from the underside of the decklid before the media stopped flowing.....
I called O'Reilly's and ordered two filter elements for the Sharpe oil/water traps installed on the hard lines and will make a run to Harbor Freight this week to buy a couple of their inline desiccant dryer/filters to see how well they perform at resolving my moisture issues.
I also noticed some areas on the underside of the decklid that Ford missed as well as the 2B respray a few years ago..
Seems with the decklid mounted on the car, it must be difficult to see to hit the backside of the rearward decklid bracing. I'll make sure mine gets painted as all the body panels will be painted off the car and rehung during final assembly.
Well hopefully next weekend will be much more productive and I'll get the Tomato that much closer to going to the body shop for final fit and finish.
Fingers crossed!
ZEBRA 3 OUT
11/5/17
Details 85....
Well after having a very unproductive October, had a bit of progress this weekend... we got the rear brakes bled, the wheels back on and the Torino is ready to set down on the ground.
I then moved into the blast booth and fought with the sandblaster. Seems I forgot to turn off my air line the last time I blasted and both water traps were full of water. I drained them both but evidently there was still moisture in the air lines because I could not get the media to get siphoned into the blasting pickup line, so I reverted to the old scotch-brite pad on the angle head as well as the DA to get the remaining paint off the top side of the deck lid.

I did use the sandblaster to blow off the decklid once and the media started to be picked up, so I was able to do a bit of sandblasting on the remaining paint until I stopped to answer my phone. Once I finished and resumed trying to blast, evidently the moisture had built back up in the line so I had to revert back to manual stripping. Need to check on perhaps getting new desiccant for the Sharpe water traps???
Next weekend, I'll flip over the deck lid and blast (hopefully!!) underside and then start on the driver side front fender. Once the fender is clean, all body sheet metal will be stripped and I can protect and prep it all with a coating of Ospho until the Tomato is back into the body shop.
I like the sound of that!!!
Stay tuned....
ZEBRA 3 OUT
I then moved into the blast booth and fought with the sandblaster. Seems I forgot to turn off my air line the last time I blasted and both water traps were full of water. I drained them both but evidently there was still moisture in the air lines because I could not get the media to get siphoned into the blasting pickup line, so I reverted to the old scotch-brite pad on the angle head as well as the DA to get the remaining paint off the top side of the deck lid.
I did use the sandblaster to blow off the decklid once and the media started to be picked up, so I was able to do a bit of sandblasting on the remaining paint until I stopped to answer my phone. Once I finished and resumed trying to blast, evidently the moisture had built back up in the line so I had to revert back to manual stripping. Need to check on perhaps getting new desiccant for the Sharpe water traps???
Next weekend, I'll flip over the deck lid and blast (hopefully!!) underside and then start on the driver side front fender. Once the fender is clean, all body sheet metal will be stripped and I can protect and prep it all with a coating of Ospho until the Tomato is back into the body shop.
I like the sound of that!!!
Stay tuned....
ZEBRA 3 OUT
10/15/17
Details 84....
A wee bit of progress this weekend... CaliforniaJohnny sent me a proportioning valve like is on the Tomato.
It allowed me to make a distribution piston stop (install in place of brake switch to keep the piston centered while bleeding) as well as determining how to recenter the piston in my proportioning valve.
Simple as taking a 3/32" dia round (the cross bar from a wire coat hanger in my case!)
and gently tapping the piston forward in the distribution block until the center divot was visible in the switch opening.
I'll install the stop to keep the piston in place until we get the back brakes bled. Once both systems are bled and I have a firm pedal, the stop will come out and the switch installed back into it's proper home.
Once that was finished, I went into the blast booth and blasted a bit more on the deck lid. Just about finished on the outside...
then I'll flip it over and do the inside. Oh what fun!
The next two weekends will be unproductive... I have a doctors appointment next weekend at the Cleveland Clinic and the following weekend is our annual wedding anniversary Halloween party.
Until next installment....
ZEBRA 3 OUT
then I'll flip it over and do the inside. Oh what fun!
The next two weekends will be unproductive... I have a doctors appointment next weekend at the Cleveland Clinic and the following weekend is our annual wedding anniversary Halloween party.
Until next installment....
ZEBRA 3 OUT
10/1/17
Details 83....
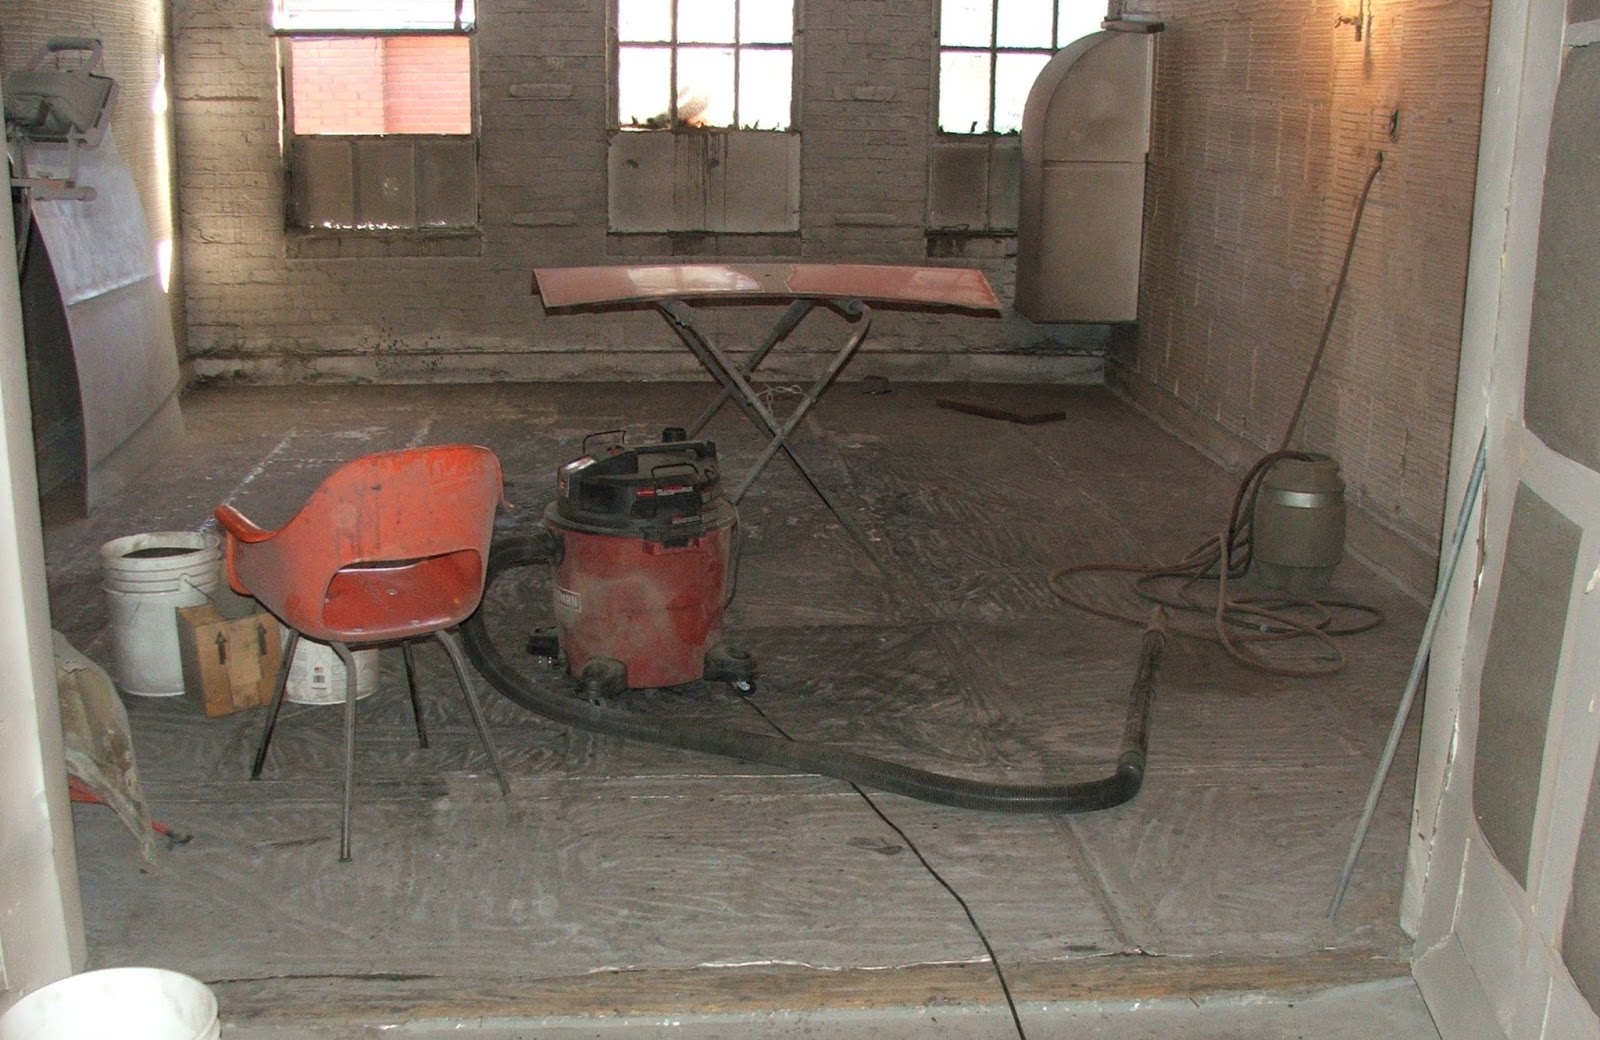
Well Saturday sucked sand..... NO REALLY, I sucked sand most of the day! LOL, I had to vacuum up all the sand from the blast booth so I could continue blasting the deck lid and a few other major components that can't fit into the blast cabinet. Had I remembered, I could have done that last Saturday while recuperating from elbow surgery rather than waiting around at the house for F3 to let me know they were at the shop to pick up my windshield and heated back glass!
Here is my little bucket blaster that has served me well in blasting the undercarriage and other larger items on this build
as well as our blast cabinet for the smaller stuff.
Once I was finished vacuuming and sifting the sand into 5 gallon buckets, I check my alternator captive nut to verify it would work as envisioned
and got that all put together
and then hung the rear tires back on the dormant T'bolt tribute project to once more have it a mobile project.
Next weekend hope to get the sheetmetal blasting all knocked out.
Until then....
ZEBRA 3 OUT
Subscribe to:
Posts (Atom)