
I knew I couldn't be the only one on the planet who has faced this problem, so one day at lunch I did an Internet search for sandblasting troubleshooting and I came across a forum discussion someplace where a guy was having a similar issue. Reading thru the thread I learned there must be an air supply present at the pickup point for the media to be sucked up the tube or it would be kinda like trying to suck a really thick milkshake thru a straw. The guys said once he added the air source, his sandblaster took on a whole new life!
Hmmmm, that had to be it, so I looked at how the sand was drawn into my Campbell-Hausfeld 5 gallon Power Blast blaster.....

It's merely a 3/8" or so ID rubber hose sliced on a steep angle to provide a long pickup area that is totally submerged in the medium. I guess a larger/courser aggregate allows for more air to be contained in the material for easier draw, but as the sand gets used and reused a few times, it get smaller and and a bit smoother so it packs in tighter for less air and that's when it starts to act like a "thick milkshake".
My initial thought for the solution was to use a section of 1/4" od clear tubing like used on aquariums along with one of the t-shaped air control valves to control air flow (the forum article said something about too much air supply-no media / too little air supply-no air, so the supply would need to be controlled) installed into the pickup area of my blaster opposite from the pickup tube side so it would run directly into the media feed.....


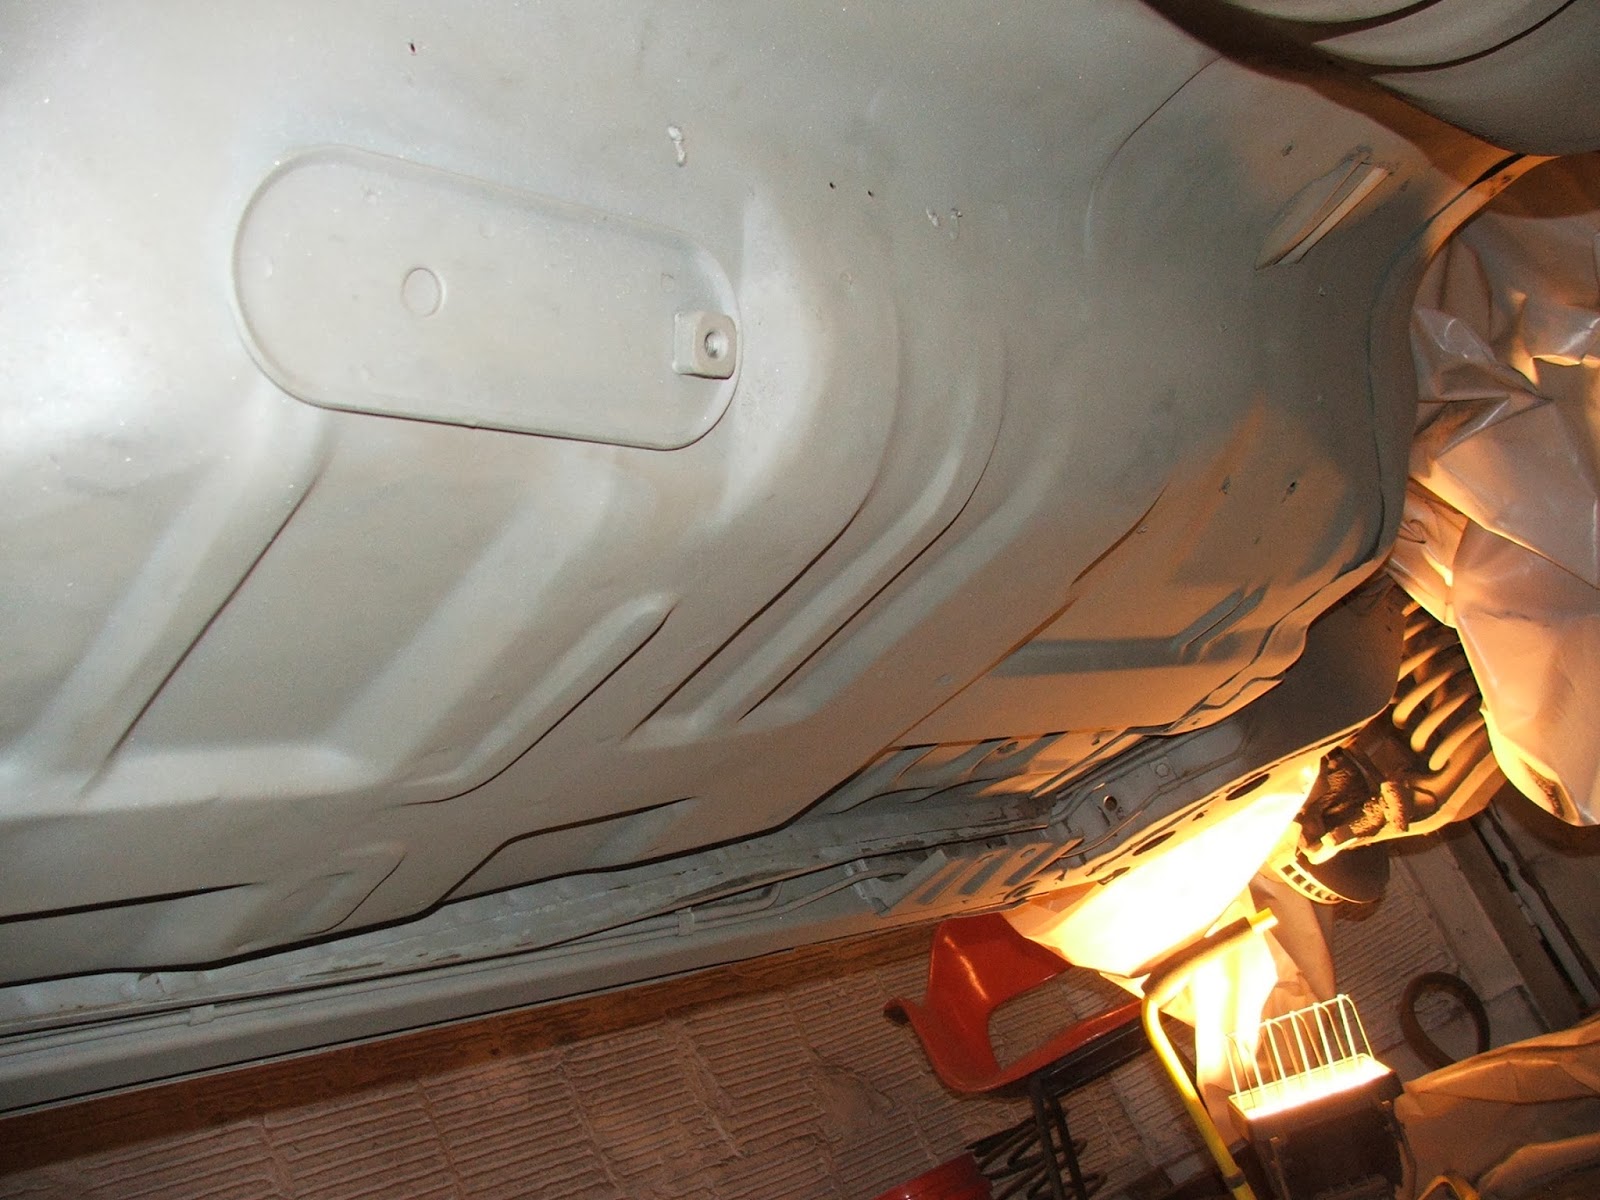
With the breather assembly installed, I partially filled the hopper with sand, donned my protective garb and tried out my solution. After a second or two the media began to flow like she was in her sweet spot! I thought HOT DAMN I'M COOKIN' NOW and again the fresh clean metal began to grow and expand. It's a bit tougher blasting around the frame rails and up into the body frame cavity so there was a lot of time stopping to reposition the light, my body, the hopper... whatever and each time the flow would begin again after a second or two. I kept fiddling with the air control valve to see if I could tell if it was having any effect and I could tell there was a bit of difference from closed to fully open but not a great difference, so I finally just pulled the valve off to really let her breathe and it still sang and danced vastly better than before. At one point I tried to burp the line to see it sand would shoot from the air line and nothing came out so I thought SWEET I'M FINALLY HOME FREE and continued to blast away.... then suddenly the old gremlin reared it's ugly head! I monkeyed around with tipping the hopper, bumping the hopper all the old tricks from the past to get it "primed" but couldn't find the sweet-spot again. I thought WHAT THE HECK IS GOING ON NOW, so I rolled out from under the car to find out the problem.
When I dumped the remaining sand out of the hopper the problem became instantly clear.... my air hose was too short and when I burped the feed line, the hoses flexed and the air line came out of the feed line. So I need to pick up a longer section of the 1/4" clear line so I can feed it deeper into the pickup hose so they can't come apart when burped.

I was happy that I finally have a solution to my blasting problem (I HOPE) and actually got more done it that hour or so I tested out the solution that I did the last several times I was able to play on the Tomato.....


Since I was already out of my blasting gear and my daughter was on her way to the house for a visit, I decided to work on a couple little sub-projects... the material for boxing my rear control arms and repairing my rear sway bar links.
I picked up a couple long 1/4-20 carriage bolts from Fastenal and drove the shoulder down into the link bracket opening and voila...


Need to tack the bolt to the bracket, add a tube spacer and tack that into place and the links should be good as new!
I had a couple strips on 11ga steel cut at work to use for boxing the rear control arms and it looks like I guessed the correct width and length, so all I'll need to do is form them to the arms and weld them up once I have the arms blasted and coated inside with POR15....


All in all a pretty productive day... and I got to visit with my baby girl who we haven't seen since Christmas! I'm planning on making a day of it next weekend to wrap up the underbody blasting so I can next blast the rearend and get that little rebuild/detailing project underway before attacking the front suspension and forward chassis blasting.
Getting closer to turning things back over to the crew at F3!!!
More to come....
ZEBRA 3 OUT


