10/5/13

Blasted... Part 2

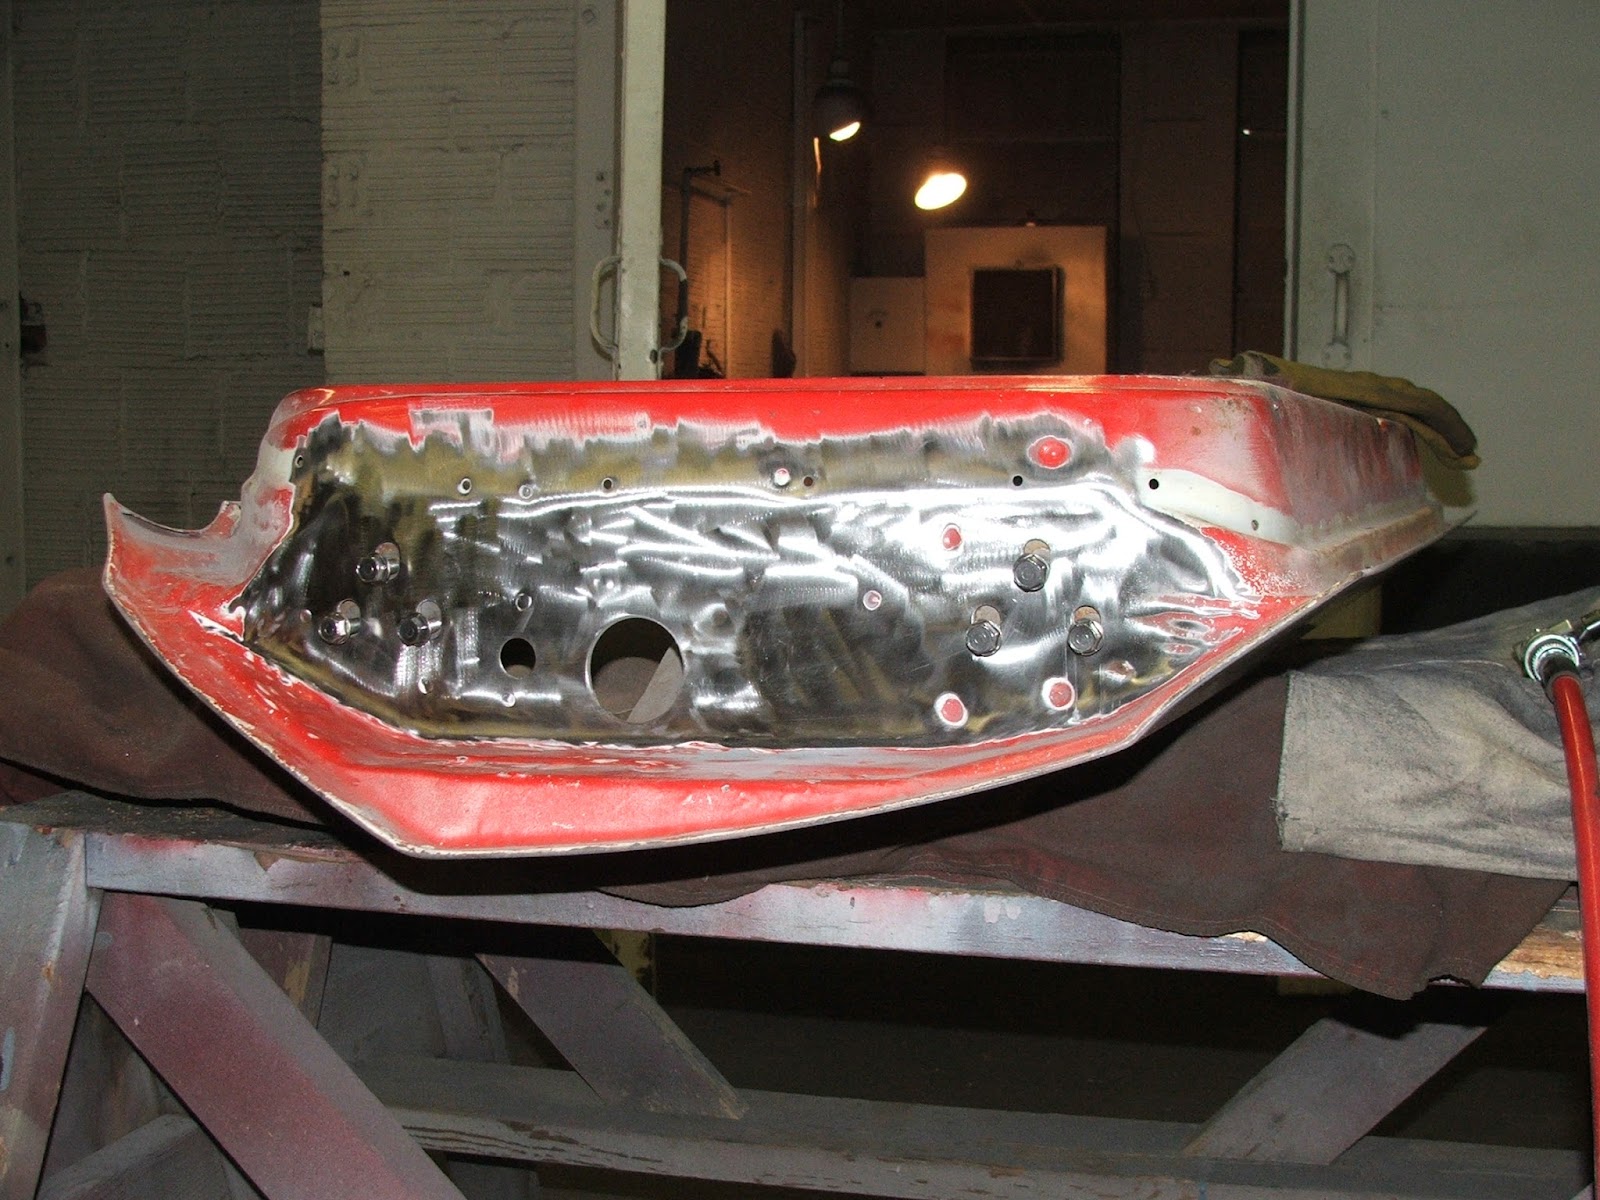
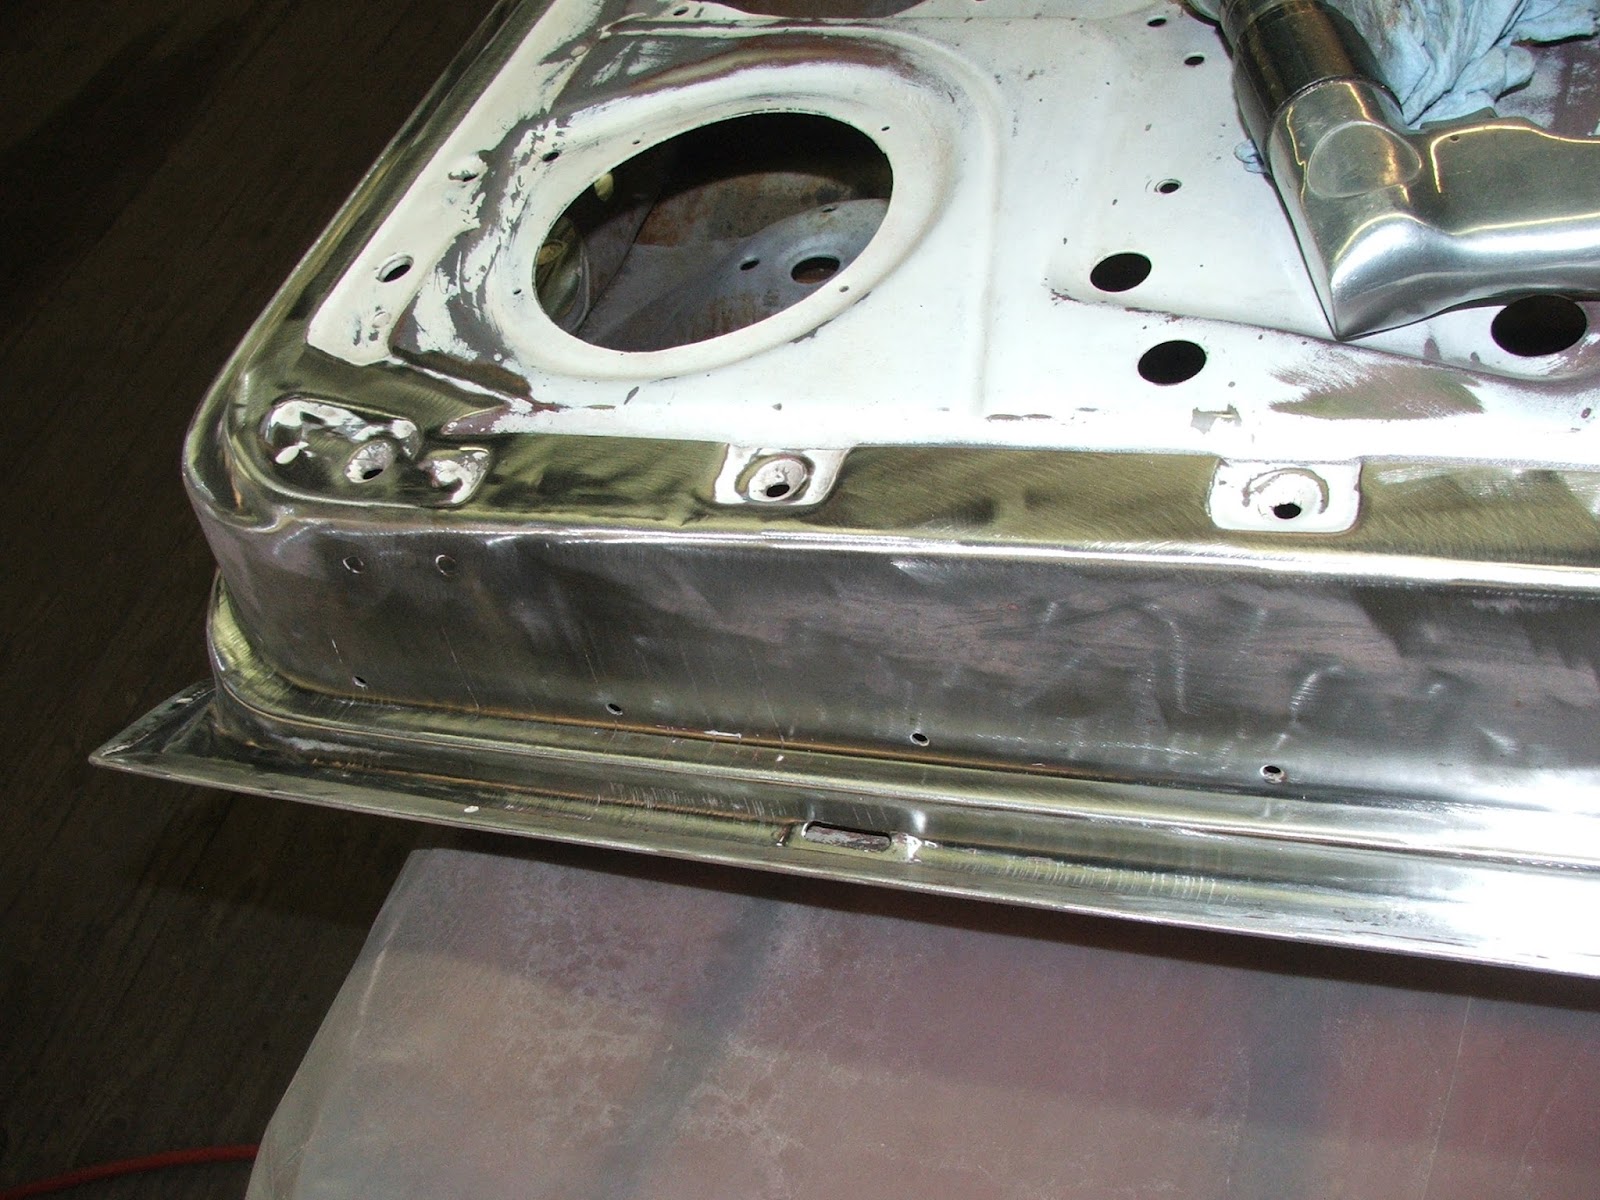
Have made some progress since last installment. I got the firewall and door posts stripped.....


and also got the ole girl moved into the booth and up in the air so the sandblasting of the chassis can begin....


While she's in the booth, I'll drop the front and rear suspensions from the car so I can get the chassis blasted really good and rebuild and detail everything as necessary as I put it all back together.

More to come....

ZEBRA 3 OUT

8/3/13

Blasted... Part 1

After several weekends doing other projects or family functions, I was finally able to go work on the Tomato today. I accomplished getting both front wheelhouses blasted....


I changed the 6 foot media hose on my Eastwood sandblaster to a 12 footer and it made things a whole lot easier by having more ability to move around the piece without having to drag along the blaster!
 
I also came to the conclusion that sandblasting is NOT a summer friendly task! Once you get all garbed up, you have to contend with your body heat rising, your hood visor fogging up from your hot, moist breath exiting your respirator as well as moisture in the air line semi-clogging your media! Not to mention the sand in your crack.... FUN FUN FUN!! LOL
 
Next major component to tackle... the core support. Then the fun of blasting the chassis will commence!!!!
 
Stay tuned....

ZEBRA 3 OUT

5/25/13

Prepping the doors.....

Somehow, this post didn't get uploaded, so I will try and figure out later how to get it inserted into the right place within the project history. So now, a FLASHBACK to an earlier accomplishment....

With the Torino back, the doors off and the harness holes pulled, it was time to add the mounting holes for the remote chrome mirror to the passenger door, clean up the insides and strip the remaining paint from the bottom and hinge ends of both.

Since drilling and cutting the holes for the mirror would make more shavings inside the door, I decided to do that first so I wouldn't have to clean up the passenger door twice. Using the driver's door to create a template, I placed the template face down on the passenger door, effectively mirroring the mounting pattern, and marked the necessary openings onto the door. I used an 1/8" bit to drill the 4 corners of the rectangular remote controller feed thru opening and a 5/16" drill for the front mounting stud and a 3/8" drill for the rear. Then I used my cutoff wheel to create the rectangular opening. I made the top and bottom cuts with an old wheel that was getting pretty small so I changed to a new wheel and, not thinking it thru, I proceeded to make the front and rear cuts. Due to the larger wheel diameter, the front and rear cut lines extended past the corner radius... CRAP!!!!

These will get covered by the body glazing and ultimately the mirror, so my fubar will be covered up.... THANK GOODNESS!

With the mirror mounting out of the way, the next step was to address the hinge areas. I guess Ford installed the hinge to the door prior to them going thru thr paint line because there was no paint whatsoever underneath them.....
 
so a few minutes spent with a scotch-brite pad on the grinder and chading the threads with a tap and cleaning the bolts up on the wire wheel and things looked a bit nicer....

Now with both door hinge areas cleaned up, was time to start cleaning the caulking strip used to hold the watershields in place off the inner face. A little lacquer thinner, a scotch-brite pad and elbow grease and the gunk was gone....

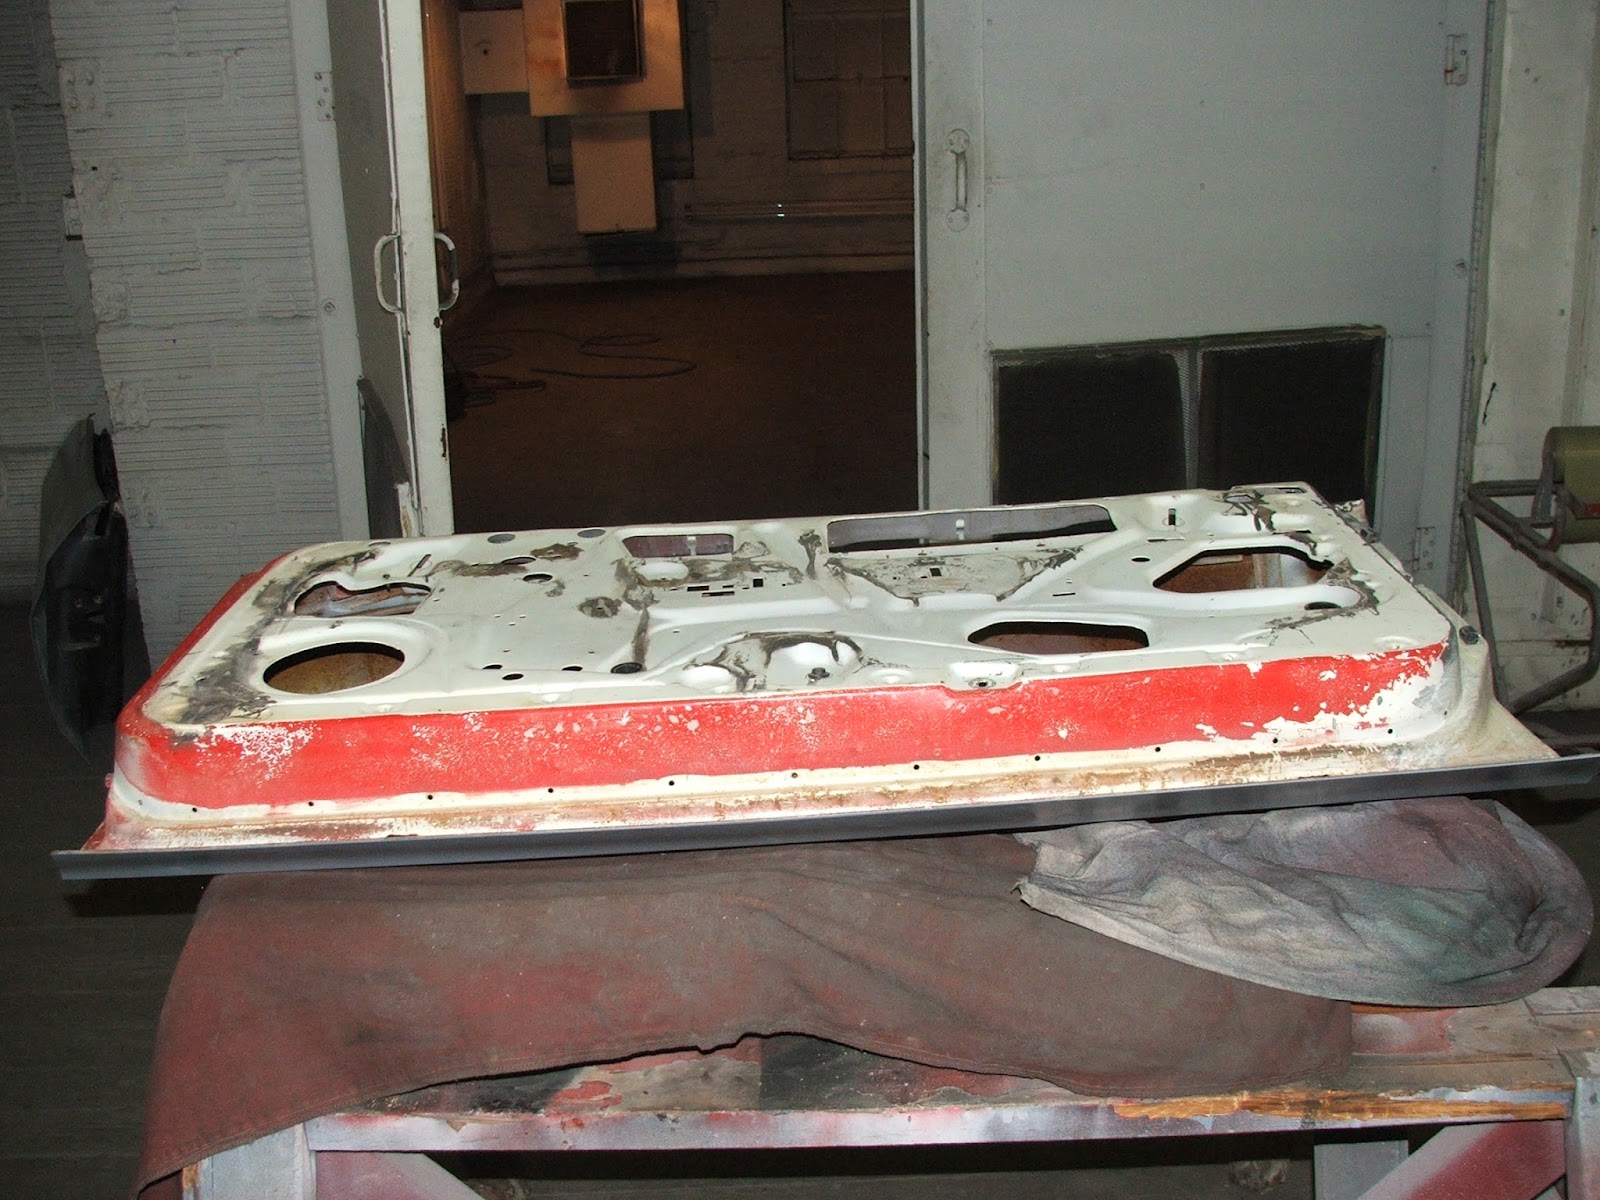
Now to the insides of the doors. First order of business was to vacuum out all the crud that had accumilated inside them. I used a small blade screwdriver to break-up all the dirt that had packed itself into the lower door seams and made sure the drain holes were open....


With the insides of the doors clean, was time to finish stripping the paint from the rest of the outer surfaces.
 
Stay tuned.......
 
ZEBRA 3 OUT
4/13/13

A DATE WITH THE STRIPPER

I've had the Torino back for a few weeks now and haven't gotten to spend much time working on her for one reason or another, but I am making some small gains. I now have the paint stripped off both doors....


I need to wash the paint stripper off them really well and then protect the naked sheetmetal with some POR15 PREP & READY as well as cleaning the interior of the doors and painting them with POR15 to protect them from any future rust.

While I was in the stripping mood, I also started stripping the bumper fillers. I got the corner fillers all stripped....

and the rear main filler is next on the agenda. When I finally break down my front bumper assembly, I will also strip the front main filler and then all the bumper sight shields will be ready for final prep and Silver paint.
 
Until next installment.....
 
ZEBRA 3 OUT

3/2/13

Blowin' the doors off....

Well was a short day today working on the Tomato. The tasks of the day were getting the holes pulled for the door power feed harnesses and get the doors removes. When I purchased the power window assemblies from Jeff Munn, I had him to also send the the leading edges of both doors so I could locate everything as shipped from the factory. This also allowed me to know the exact sizes of the holes I needed to put in the doors and hinge posts so the harness bellows would seal correctly. The factory openings measured roughly 1 7/8" in diameter and I knew that would be a tough job cutting those with a hole saw so I checked at work and found the Greenlee punch for 1 1/2" conduit was 1 15/16"... close enough.

I used my step drill to cut the 1/2" pilot hole for the draw stud and with the help of my buddy Jim maneuvering the punch into position to clear the side impact bar in the door, it was a simple matter of pumping the hydraulics to pull the punch thru the thin material of the door skin and voila.... nice smoothly cut round holes in the leading edge of the doors in less than an hour......


Next step was to remove the doors so we could access the necessary location on the hinge post of the body to pull the opening cabin of the car....


With the harness holes in place we laid the first door on the sawhorses so I could begin the task of cleaning, prepping and painting the insides of the doors as well as getting the interior side prepped for paint.....


Until next time...........

ZEBRA 3 OUT