Finally have my laptop back from the repair shop, so let's see if I can get all caught up with my progress over the past two weekends. I got the floor shifter bucket, floor seal and shifter arm blasted...
the rear suspension brackets and hardware primed and painted...
the front lower and rear upper control arms blasted and rear for paint....
control arm bushing cups removed and blasted (need to get the remaining rubber cleaned out so I can get them yellow chromate plated)
the cowl undercoated and unmasked...
the new stainless steel brake and transmission lines straightened and laid out to transfer the attaching clips from my old lines....
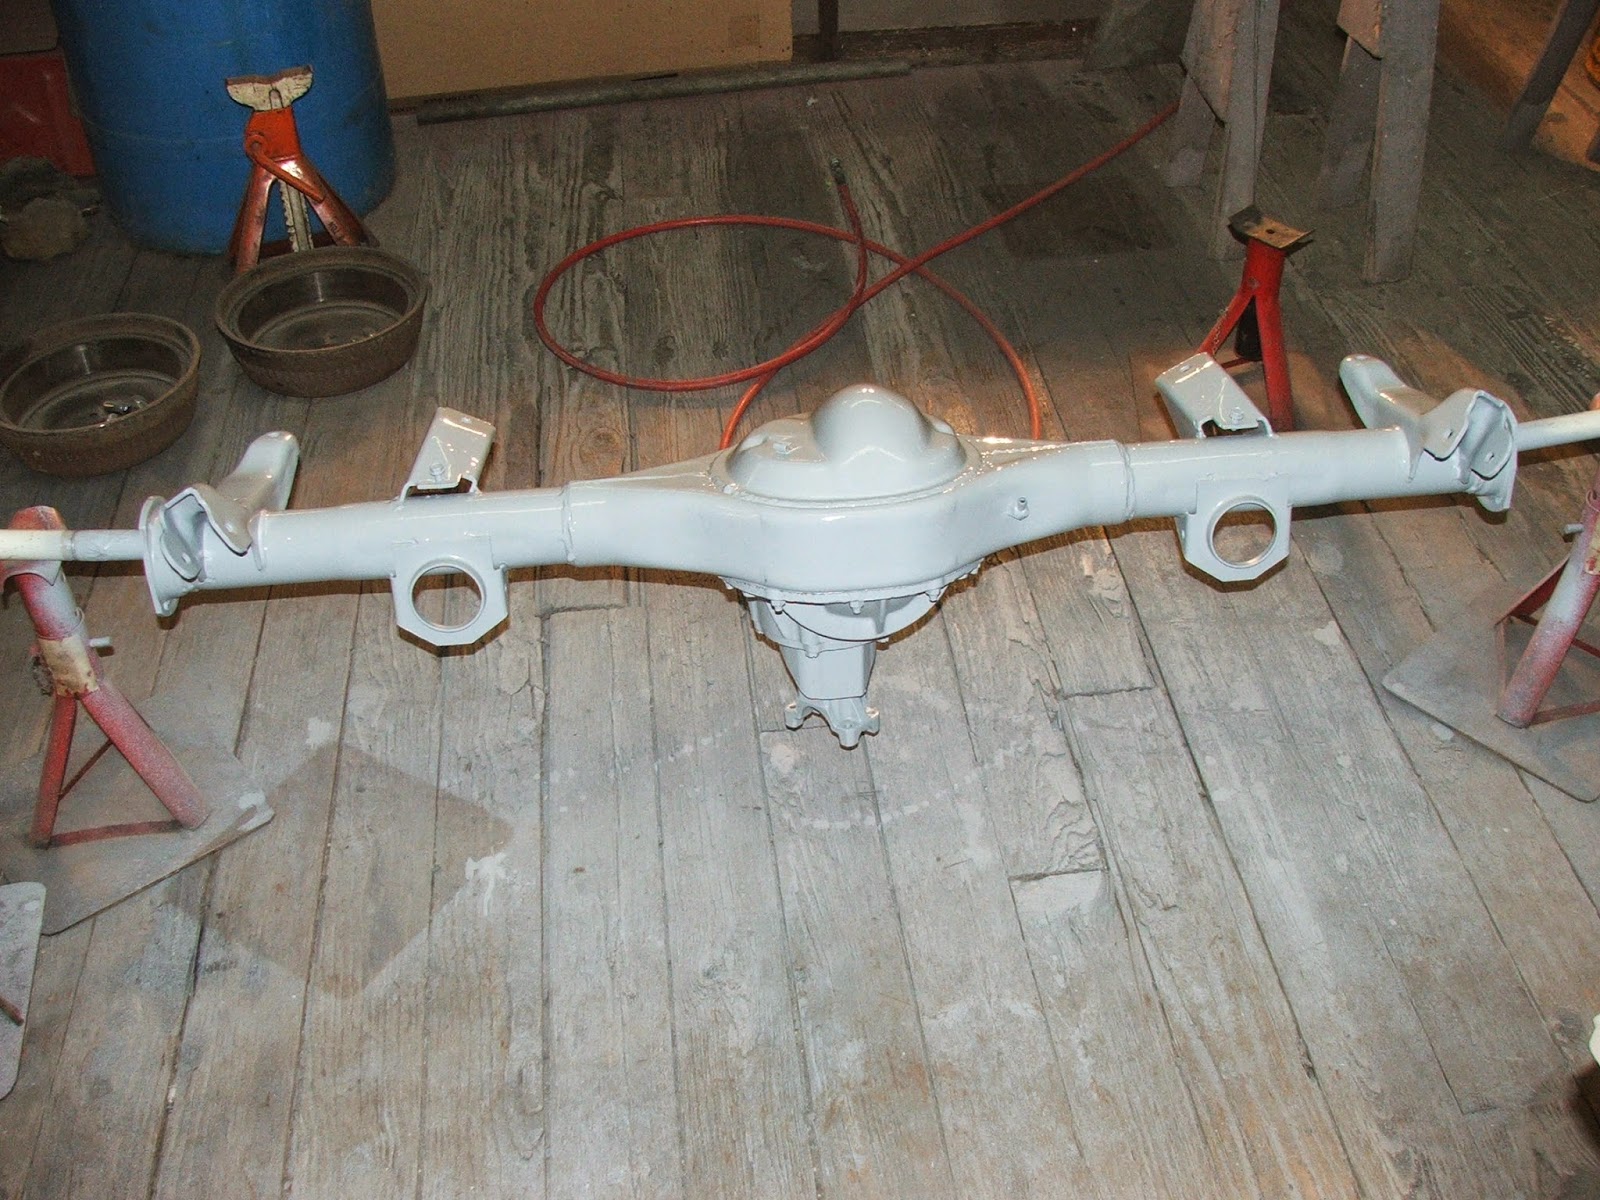
But the wet blanket on the entire past two weeks was when I went to apply the second coat of Chassis Black to the rear end..... the first coat laid down beautifully on the POR15 self etching primer...
but the second finish coat started to "alligator" lik
e it was a wrinkle finish paint or something...
Wish to GOD I had applied the second coat to the backside of the axle first rather than the front.... gonna be a real PITA getting down into the carrier recesses to smooth everything out!
Will be calling Eastwood Tech Support on Monday to find out WTH is going on. I have the frame and underside of the body first coated with the Chassis Black and now I'm a little afraid to apply the second coat until I determine the cause because I don't even want to think about starting over on the frame/underbody should it happen again!!
Until next time.....
ZEBRA 3 OUT